Application contacts
This topic describes how to view, add, remove and edit application contacts.
The directory of contacts is used to inform relevant people of application changes. Contacts from the directory are associated with specific applications; each application contact is assigned a specific role. All contact information for an application is displayed in the Contacts area of the application DASHBOARD tab.
For more details, see Application dashboard.
In this topic:
- View application contacts
- Add application contacts
- Edit an application's contacts
- Removing an application contact
View application contacts
To view a contact:
-
In the toolbar, click your username.
A drop-down menu appears.
-
Click Contacts.
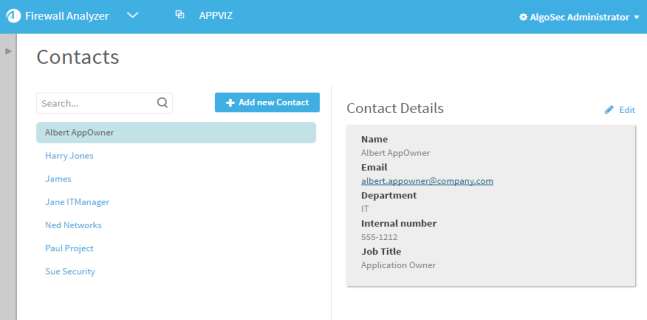
The Contacts area appears in the workspace.

-
To search for a contact, type any part of the contact's name in the search field, and click
 .
.All contacts containing the string you entered are displayed.
-
Click the desired contact's name in the list below the search field.
The contact's details are displayed in the workspace.
Add application contacts
To add a contact:
-
In the toolbar, click your username.
A drop-down menu appears.
-
Click Contacts.
The Contacts area appears in the workspace.
-
Click +Add new Contact.
The Add new contact area appears in the workspace.

-
Complete the fields as needed.
Note: Custom contact fields may appear. For more details, see AppViz maintenance.
-
Click Save Changes.
The contact is added.
Edit an application's contacts
To edit a contact:
-
View the contact you want to edit. For details, see View application contacts.
-
Click
 .
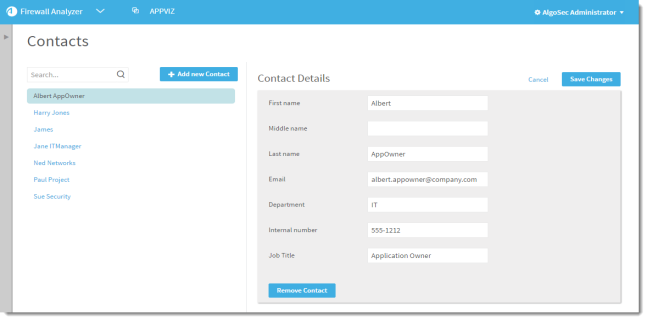
.The contact's information appears in editable fields.

- Update the fields as needed. For details, see Contact fields.
-
Click Save Changes.
The contact's new information is saved.
Removing an application contact
To remove a contact:
-
View the contact you want to remove. For details, see View application contacts.
-
Click
 .
.The contact's information appears in editable fields.
-
Click Remove Contact.
The Remove Contact dialog box appears.

-
Click OK.
The contact is removed.

