Manage FireFlow email templates
FireFlow sends emails to users upon various events in the change request lifecycle.
This topic describes how to manage the templates used for each type of email.
In this topic:
FireFlow email templates
|
This template... |
Is used to send emails to... |
And is used when... |
|---|---|---|
|
Transaction |
Change request owners
|
A reply is written for an item in a change request's history. A comment is written for an item in a change request's history. A change request's owner is changed. |
|
Correspondence |
Requestors |
A reply is written for an item in a change request's history. |
|
Resolved |
Requestors |
A change request is resolved. |
|
Autoreply |
Requestors |
A new change request is created. |
|
Notify External System Ticket Close |
An external Change Management System (CMS) |
A change request is resolved. |
If desired, you can modify these templates.
Note: Other templates appear in the FireFlow interface; however, they are not used for FireFlow emails and should therefore be ignored.
Note: It is possible to customize which events trigger email sending and to whom the emails are sent. For further information, contact AlgoSec.
Modify email templates
Do the following:
- Log in to FireFlow for configuration purposes. For details, see Log in for configuration purposes.
-
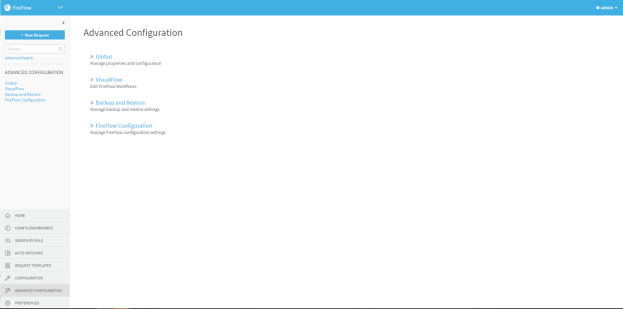
In the main menu, click Advanced Configuration.
The Advanced Configuration page is displayed.

-
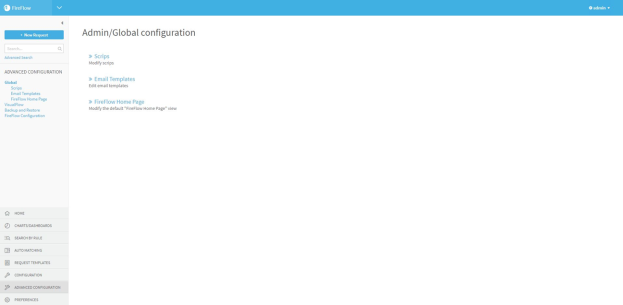
Click Global.
The Admin/Global configuration page is displayed.

-
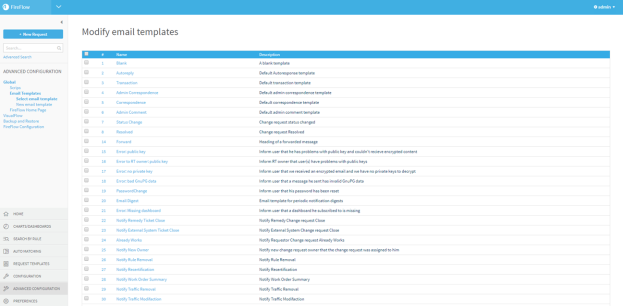
Click Email Templates.
The Modify email templates page is displayed.

-
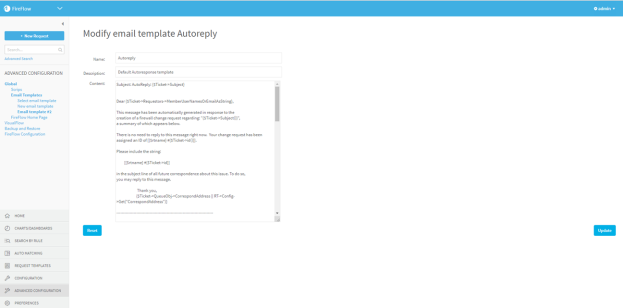
Click on the name of the desired template.
The Modify email template Autoreply page is displayed.

-
In the Content field, type the template's content.
You can use variables in the template. For a list of popular variables and their explanations, see Email Template Variables (see Email template variables).
Note: Do not modify the Name and Description fields.
Note: The email template variables that include Perl code (appearing in curly braces {}) are subject to Perl syntax.
-
To reset the template to its default settings, click Reset.
-
Click Update.

