Install ASMS from a bootable flash drive
This topic explains how to install ASMS A32.00 on a new or repurposed AlgoSec hardware appliance from a bootable flash drive (minimum 16GB).
Note: Only new or repurposed AlgoSec hardware appliances: 2063, 2203, 2403 can be loaded with A32.00 with CentOS 7. (2063 requires RAM Upgrade. Contact your sales representative).
Before you start
Before you start:
-
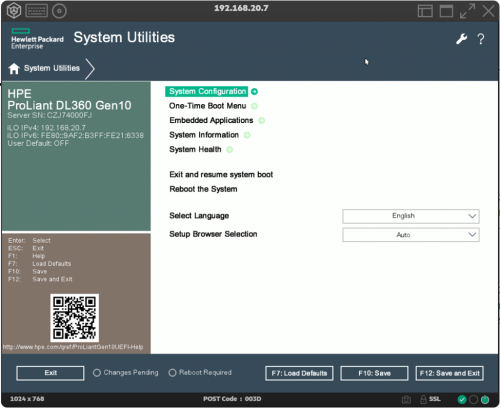
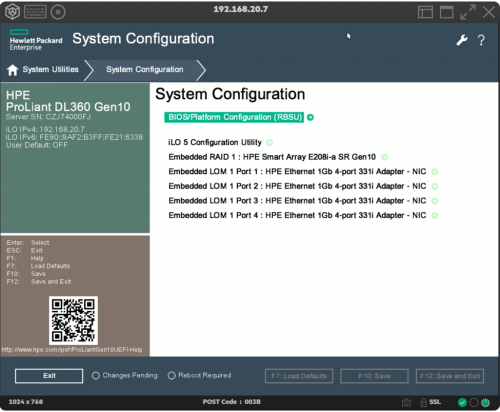
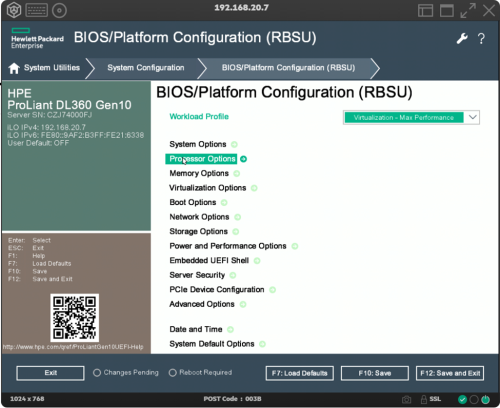
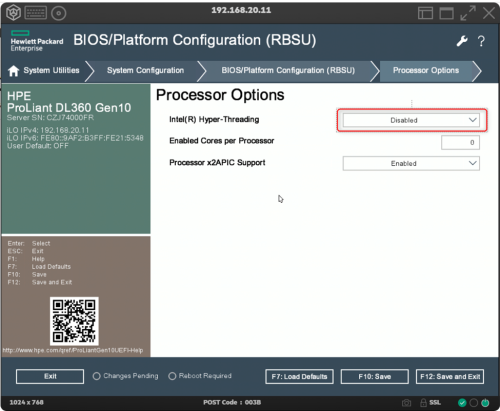
On AlgoSec Hardware Appliances 2403 (Gold) and 2203 (Silver), make sure that hyper-threading mode is disabled.
Do the following:
- Format (use FAT32) a clean flash drive .
-
Download the image file:
-
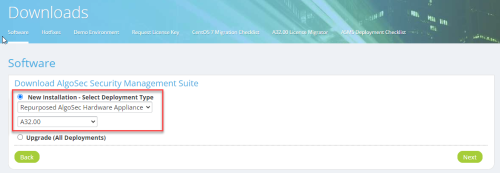
Browse to the AlgoSec Portal, and navigate to Downloads > Software > AlgoSec Security Management Suite. Select New Installation - Select Deployment Type, and select Repurposed AlgoSec Hardware Appliance from the list. Select version A32.00 from the list.
-
Click Next. A zip file of the image is downloaded.
-
Extract the zip file of the image to the flash drive.
-
-
Move the contents of the created directory to the root of the flash drive.
- On the root of the flash drive , go to utils > win 64.
- Right click makeboot64.bat and select run as admin. A Command line window appears.
- Hit <Enter> or type a space on the keyboard. The flash drive is now prepared.
- Insert the flash drive into the rear USB ports of the appliance and power on the machine (or restart, if already on).
-
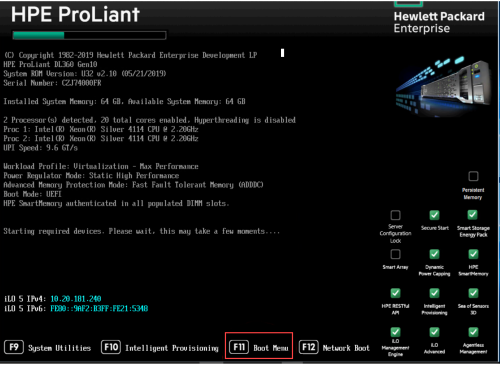
On the HPE ProLiant screen that appears, click F11 Boot Menu to start the restore procedure.
The One-Time Boot Menu appears.
-
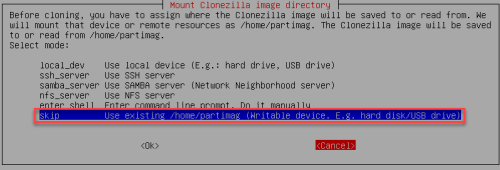
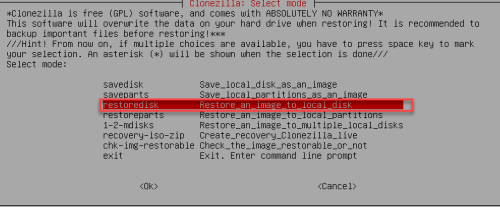
On the One-Time Boot Menu, click the name of the bootable flash drive. The Clonezilla screen appears.
The process takes around 1-2 hours.

