Storage
To enable you to efficiently manage your available disk space, and to prevent an overload of data on the AFA server, you can configure AFA to delete old reports, based on deletion criteria you define. You can configure clean-up to run automatically or trigger it manually, as needed.
Note: AFA checks the amount of local disk space remaining after running each report. If the remaining space is less than 10 GB, or if more than 95% of the disk is already used, AFA sends a warning e-mail to the users configured to receive error messages via e-mail notifications. See Configuring Event-Triggered Notifications (see Configure event-triggered notifications). In addition, AFA also sends notifications via the Notifications Center and Syslog messages.
Note: AFA provides an option to only run a scheduled analysis if policy changes were detected since the previous analysis. This option ensures that full analyses will only run when the report will differ from the most recent report, saving both the CPU time needed to produce a report and the disk space needed to store it. To enable this option, select the Run analysis only when policy is changed check box, in the General sub-tab of the Options tab in the Administration area. For more details, see Define AFA preferences.
Note: You can optionally save reports on your remote backup server by including reports in your ASMS backups. See the Backup/Restore (see Backup/Restore) tab.
Configure report cleanup
Do the following:
-
In the toolbar, click your username.
A drop-down menu appears.
-
Select Administration.
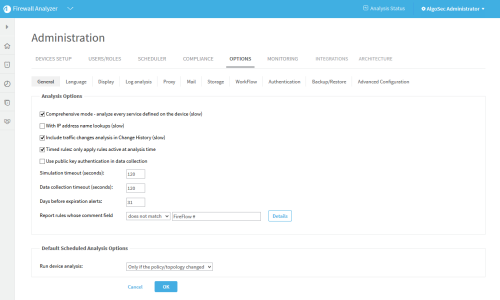
The Administration page appears, displaying the Options tab.
-
Click Storage.
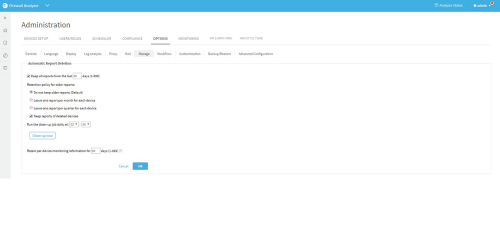
The Storage section of the Options tab is displayed.
-
Complete the fields according to the details the Storage Fields below.
-
Click OK.
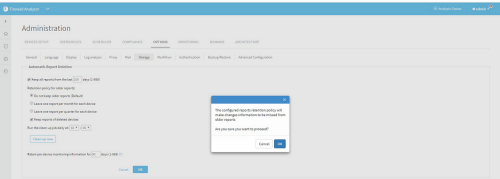
If the number of days to retain reports is greater than the number of days to retain the monitoring information, a confirmation message appears.
Click OK.
The settings are changed.
-
(Optional) Click Clean-up now to immediately delete any reports that meet the deletion criteria. Otherwise, those files will be deleted when the next scheduled clean-up time is reached.
When files are deleted, asuccess message is displayed. - Click OK.


