Add Versa Networks devices
Relevant for: AFA Administrators
This topic describes ASMS's support for Versa Networks SD-WAN.
Supported features
ASMS supports Versa Networks SD-WAN devices as follows:
-
Report Generation
-
Topology including VPN tunnels
-
Change History
-
Map Visibility
-
Traffic Simulation Query
-
Monitor Cycle
Network connectivity
The following diagram shows an ASMS Central Manager or Remote Agent connecting to a Versa Networks device environment:
Versa device permissions
ASMS requires the following to collect data from Versa Networks SD-WAN.
ASMS requires minimal, read-only access permissions to access Versa Networks SD-WAN devices and perform data collection.
The user accessing the Versa Networks SD-WAN devices must have one of the following roles:
-
Tenant DashboardOperator
-
Super-Admin-FT
-
EU-TenantSuperAdmin
-
EU-Operator
-
US- TenantSuperAdmin
-
TenantOperator
-
AllTenantSuperAdmin
-
US-Operator
-
TenantSecurityAdmin
-
TenantSuperAdmin
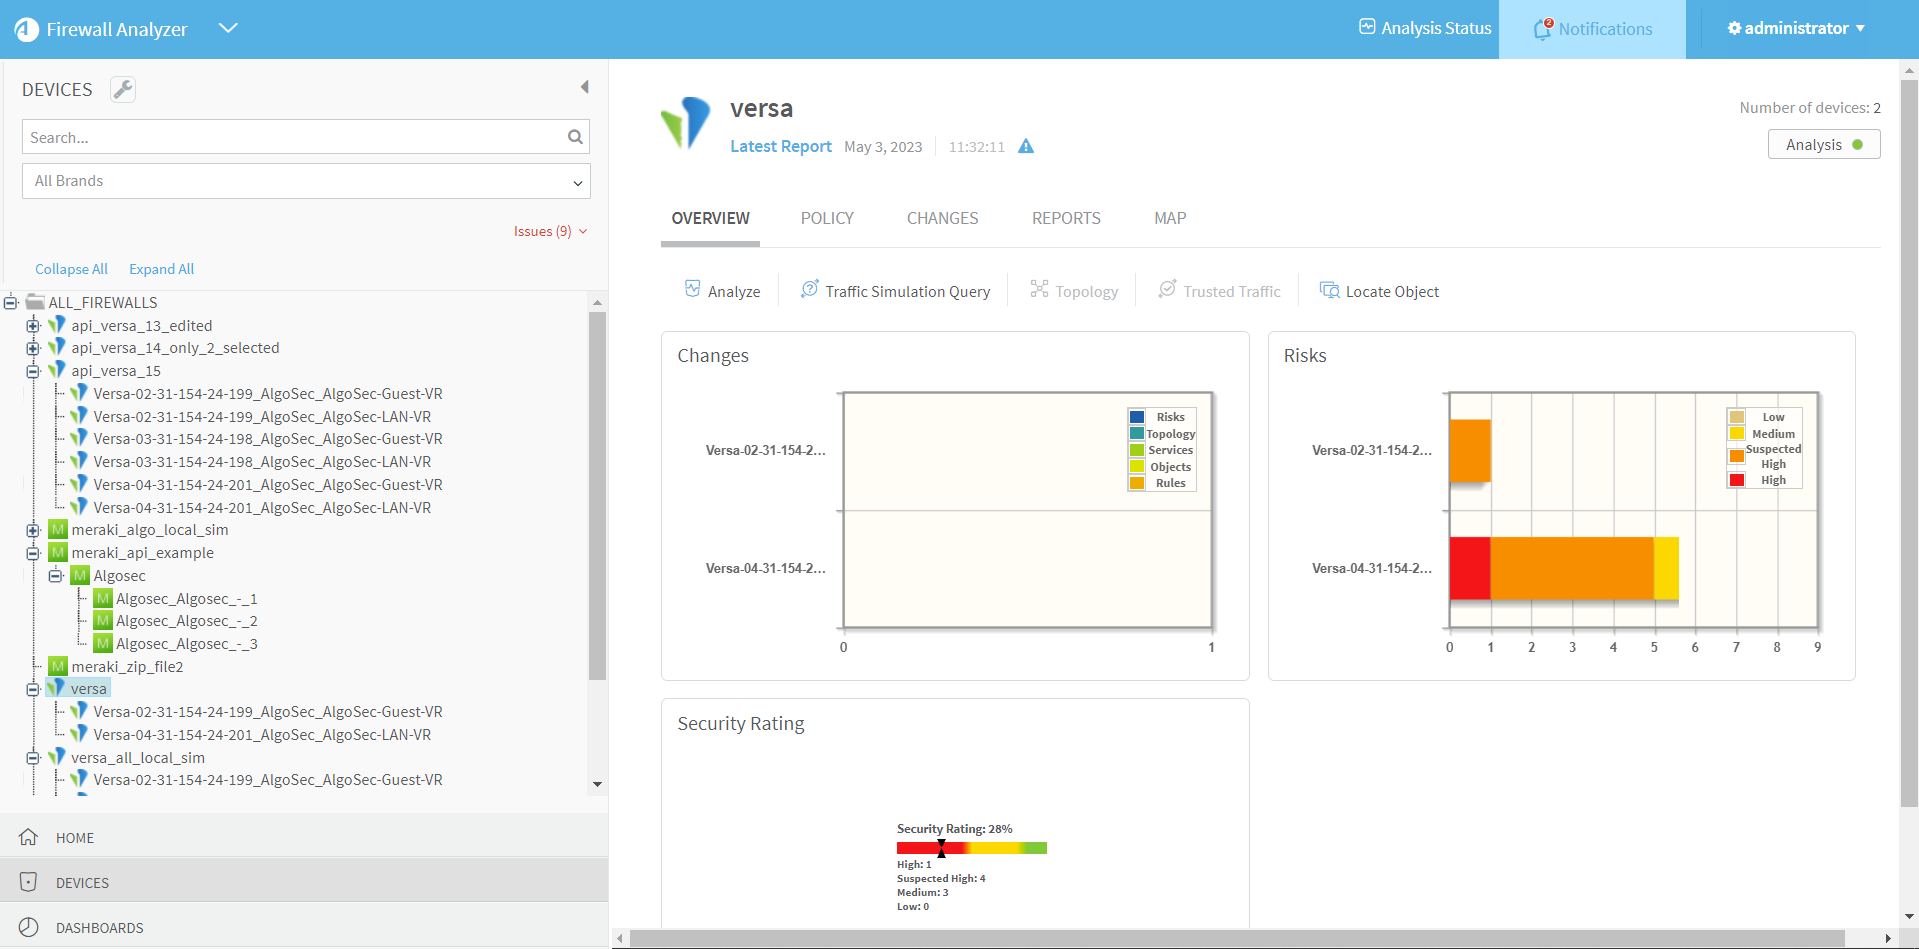
Versa Networks visibility in the device tree
Add a Versa Networks device to AFA
This process explains how to add Versa Networks SD-WAN devices to AFA.
Do the following:
-
Access the Devices Setup page. For details, see Access the DEVICES SETUP page
-
In the vendor device selection page, click Versa Networks.
-
Complete the fields as needed.
 Access Information
Display name Add a meaningful name used to identify the device throughout AFA. The display name must not contain spaces. Director address Enter the IP address or hostname of the Director.
If you don't specify a port, the default port 9182 is used.Tip: To use a different port, after the IP address or the hostname add : and the port number. For example: 192.168.20.1:9203
User name Enter Login ID to the Versa Networks Director
Password Enter the password to use for accessing the device. -
(optional): If the ASMS machine needs to communicate to Versa Networks services through a proxy server, click Set Proxy and define the proxy server.
-
Click Next. The Versa Networks - Step 2/2 page appears.
-
Select Appliances from the list.
-
 Options
Real-time change monitoring
Select this option to enable real-time change monitoring.
For details, see Configure real-time monitoring.
Set user permissions
Select this option to set user permissions for this device.
- Click Finish. The new device is added to the device tree.
-
If you selected Set user permissions, the Edit users dialog box appears.
In the list of users displayed, select one or more users to provide access to reports for this account.
-
To select multiple users, press the CTRL button while selecting.
-
Click OK to close the dialog.
-
A success message appears to confirm that the device is added.

