This topic describes how you can deploy ASMS on Amazon Web Services (AWS) or Microsoft Azure to manage your devices from the cloud.
Note: Each installation package includes software for the full AlgoSec Security Management Suite. Functionality for each ASMS product is enabled via license, and not by installation.
Deploy ASMS on AWS
Deploy ASMS on an Amazon EC2 instance using an ASMS AMI available from the AlgoSec Portal.
Refer to Hardware minimum requirements.
For AWS deployments, we also recommend:
-
Using machines from the Amazon EC2 General Purpose M5 family, compatible with Rocky Linux 8.
-
Ensuring that your AWS instance includes high-performance storage. Use Amazon gp3 volumes (SSD-based).
-
First-time setup: While you don't need to “accept" the image, you will need to go through the normal EC2 instance launch process, including selecting the AMI, choosing an instance type, configuring instance details, etc.
For more details, see the AWS Documentation![]() .
.
Do the following:
-
Deploy your AWS AMI.
-
On the Download AlgoSec Security Management Suite > AMI page, select an AWS Region and enter your AWS Account ID. The AlgoSec AMI is shared with your account. For details, see Download ASMS software packages.
- During the Add Storage phase of the setup process, increase disk space on your AWS instance. See Increase disk space of a new AWS instance.
-
Disable hyperthreading (simultaneous multithreading) on the AWS instance. For more information, see Specify CPU options for an Amazon EC2 instance - Amazon Elastic Compute Cloud.
- When the setup process is complete, you are notified and provided with the details required to access your new instance with ASMS.
-
-
After launching your instance from AMI, run the following command in order to get better disk performance:
sudo dd if=/dev/nvme0n1 of=/dev/null bs=1M
Note: this step may take several minutes to several hours, depending on your EC2 instance bandwidth, the IOPS provisioned for the volume and the size of the volume.
-
If you are deploying clusters or distributed architectures, continue with Deploy clusters and distributed architectures.
Otherwise, continue with deploying ASMS products, including populating your environment with devices and users. For details, see ASMS deployment checklist.
Deploy ASMS on Microsoft Azure
The following instructions explain how to deploy ASMS on an Azure VM.
Note: Currently, the following Microsoft Azure regions are supported:
-
North Europe
-
West Europe
-
Norway East
-
UK South
-
US West 3
-
Germany West
-
Central US
-
East US
-
East US 2
-
South Central US
-
Canada Central
-
Brazil South
-
UAE North
-
UAE Central
-
Australia East
-
South Africa North
-
India Central
-
India South
-
Southeast Asia
-
Japan East
-
Sweden Central
If your region is not currently supported, contact your AlgoSec Account Manager.
Refer to Hardware minimum requirements.
For Azure deployments:
-
Ensure that your VM is compatible with Rocky Linux 8. We recommend VMs from D-series.
-
Ensure that your Azure instance includes high-performance storage, specifically Premium SSD P-20 and higher.
-
We strongly recommend disabling hyperthreading on Azure VMs running ASMS before deploying the machine. AlgoSec has observed improved performance under heavy workloads. See Disable Hyper-threading on Azure Instance.
For more details, see the Azure Documentation.
Do the following:
-
Obtain the required parameter values used in the following steps:
<image_path>,<subscription_id>,<Application Name>,<applicationId>,<sourceTenantId>and<secret>.-
For PoC environments, contact your Sales Engineer.
-
For all other setups, contact Support.
-
-
Sign in to https://portal.azure.com/#home using an account with permission to create application registrations and grant admin consent for enterprise applications.
-
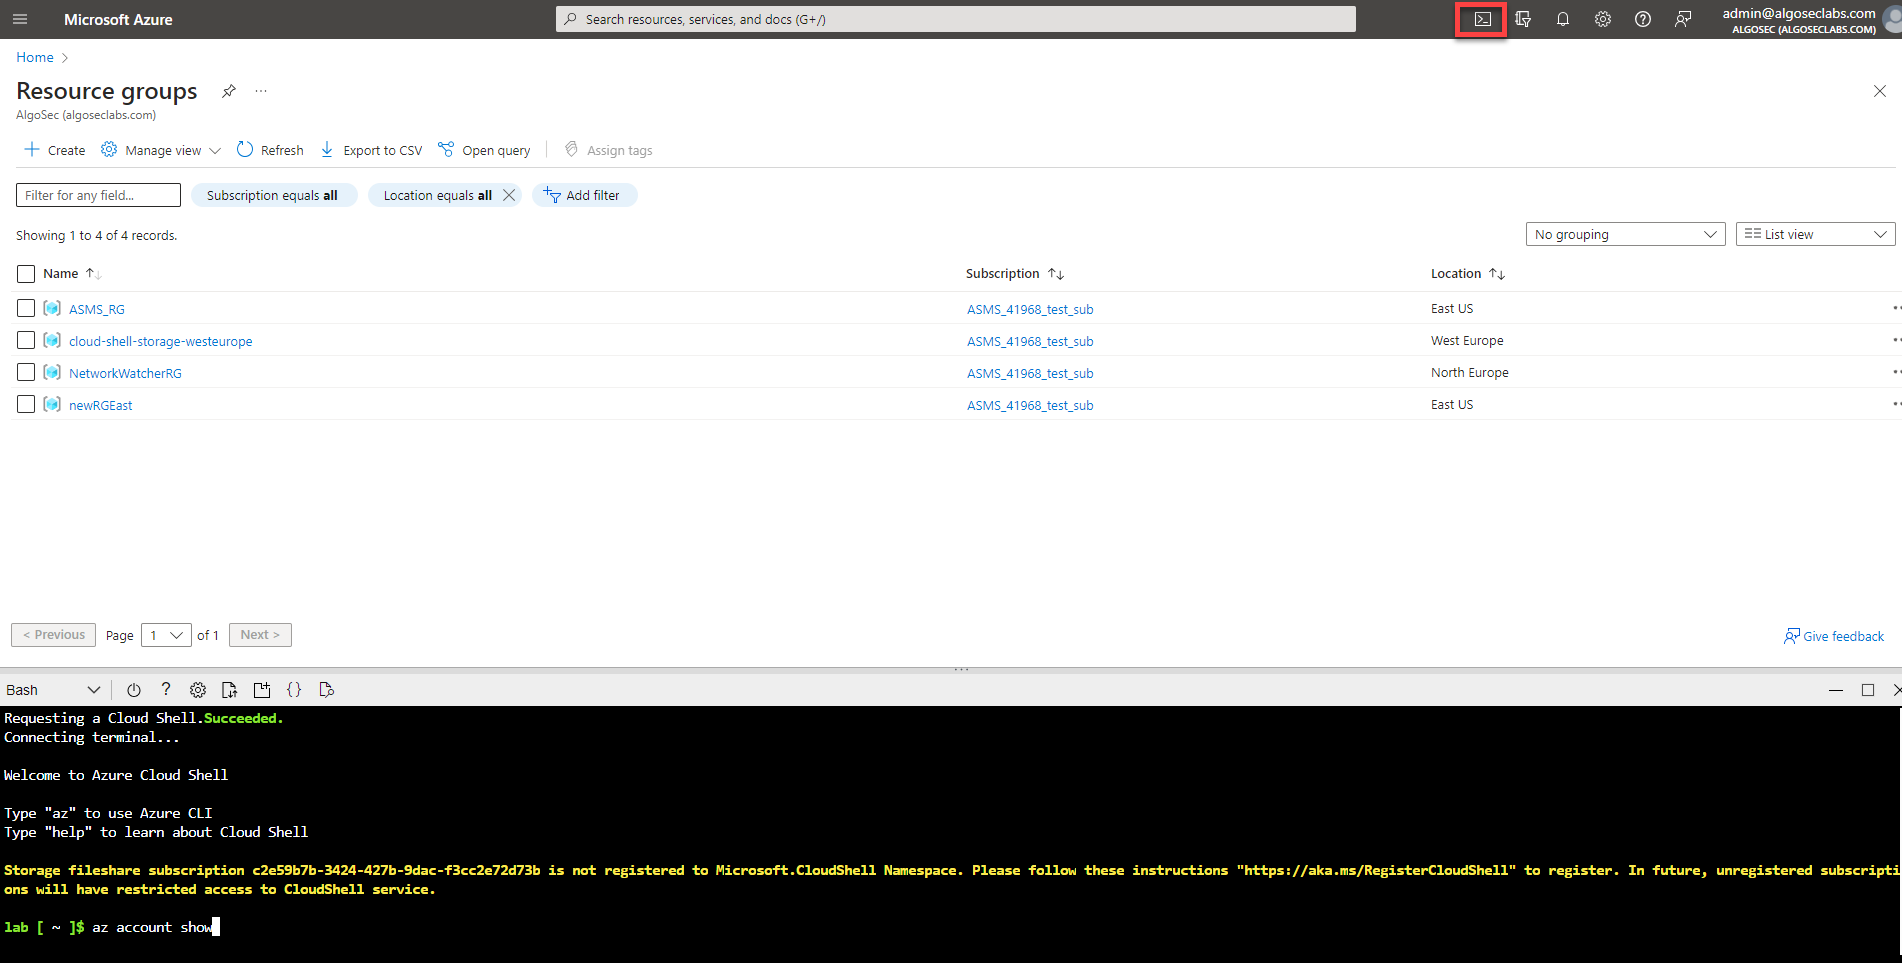
Click Resource Groups. The Resource Groups page opens.
Note: if you do not have any resource groups available, create one using:
- Using Azure portal: https://learn.microsoft.com/...
- Using Azure CLI (bash): https://learn.microsoft.com/...
-
Get your tenant ID:
-
Click the Cloud Shell icon. The Azure Cloud Shell Console opens.
-
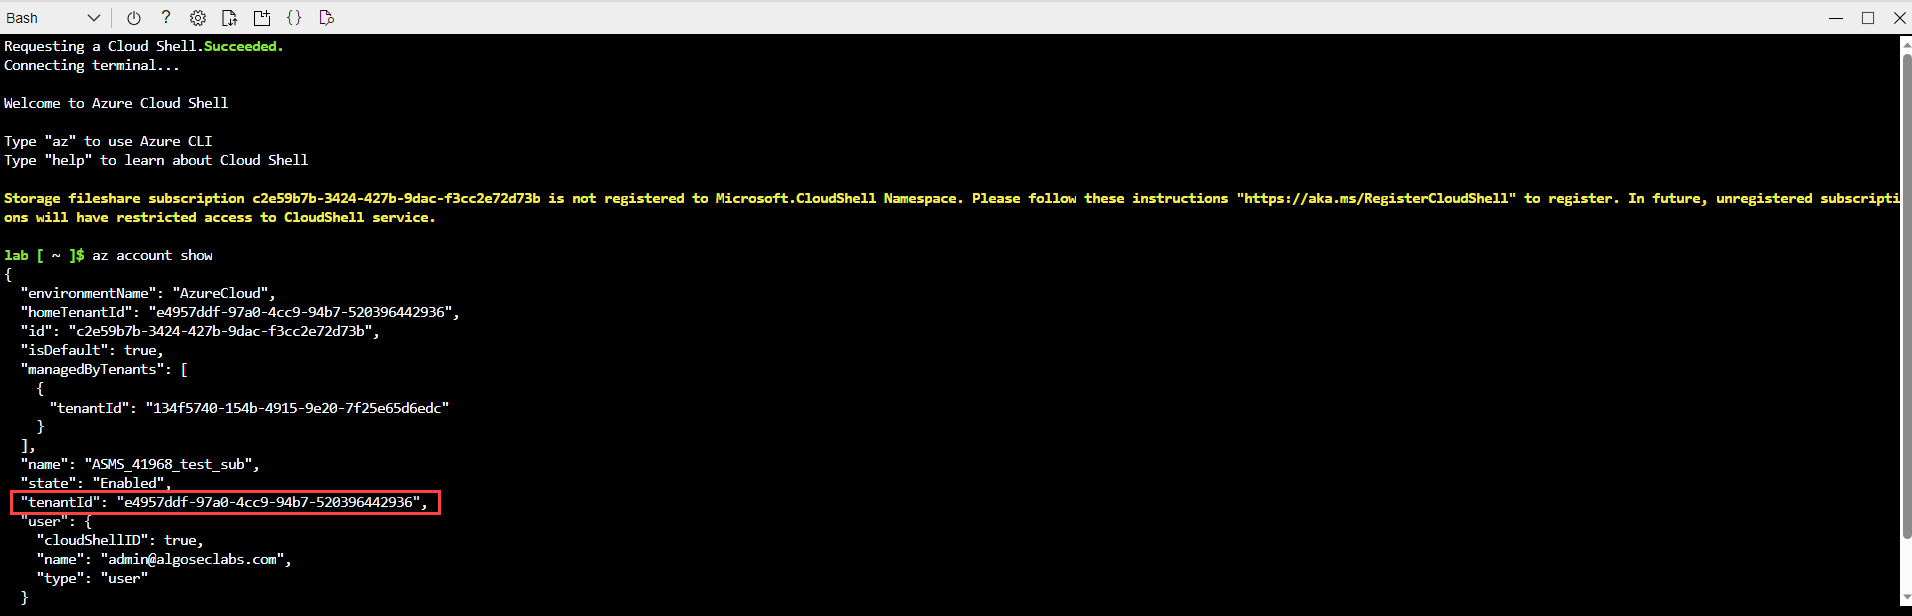
In the Azure Cloud Shell console, run the command:
az account show
-
The Tenant ID (
tenantId) is returned.Important: There may be several Tenant IDs in the results. The relevant one is under "state": "Enabled":
-
Save the Tenant ID to use in the next step.
-
-
In another browser window, navigate to the following URL:
https://login.microsoftonline.com/<tenantId>/oauth2/authorize?client_id=<applicationId>&response_type=code&redirect_uri=https%3A%2F%2Fwww.microsoft.com%2F
-
Replace
tenantIdwith your saved value. -
Replace
<applicationId>with the value obtained step 1.
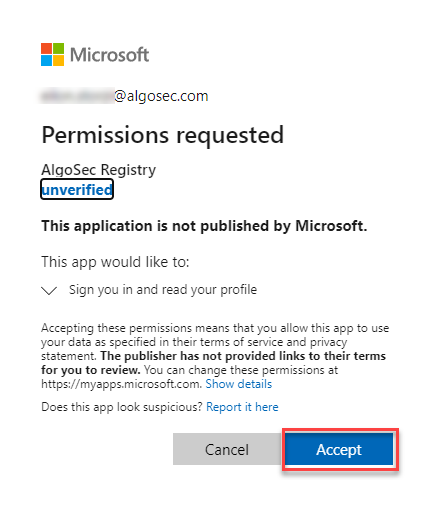
A verification message appears. Click Accept. The app registration object is created on your tenant.
You are redirected to Microsoft.com (you can close the tab at this point).
To verify that the app registration object is created on your tenant:
-
Go to https://portal.azure.com/#view/Microsoft_AAD_RegisteredApps/ApplicationsListBlade.
-
Search for AlgoSec Registry. AlgoSec Registry should be found.
Note: The AlgoSec Registry requires permission: User.Read
Some of the basic profile information it can access from the signed-in user is:
-
User's name (Display Name, First Name and Last Name)
-
User Principal Name (UPN)
-
Email Address
-
Mobile Number
-
Profile picture (if available)
-
Other directory information such as job title, department, and location
-
-
- Add permissions to the app registration object to grant it access to the required resource group:
Go to the Resource Groups page.
Click your Resource Group. The Resource Group Overview opens.
Select Access control (IAM).
Select + Add > Add role assignment.
Click Privileged Administrator Roles
Select Contributor role and click Next. The Add Role Assignment page opens.
Select Assign access to a user, group, or service principal.
Click +Select members. The list of members appears to the right side of the screen.
Select the Application Name, obtained in step 1. Click Select.
- In the Azure Cloud Shell console, log in to the Azure Gallery Application by running the following commands:
az login --service-principal -u '<applicationId>' -p '<secret>' --tenant '<sourceTenantId>'
az login --service-principal -u '<applicationId>' -p '<secret>' --tenant '<tenantId>'
-
To create a VM from the latest ASMS version, run the following command based on your requirements:
-
With a public IP address:
az vm create --resource-group <Resource Group Name>--name <vmName>--image "<image_path>" --public-ip-address "" --admin-username azureuser --generate-ssh-keys --size Standard_D32s_v3
-
Without a public IP address:
az vm create --resource-group <Resource Group Name> --name <vmName> --image "<image_path>" --admin-username azureuser --generate-ssh-keys --size Standard_D32s_v3
- Replace
<Resource Group Name>with the name of your resource group. - Replace
<vmName>with any name you choose to call your new VM. - Replace
<image_path>with the value obtained from Step 1.
- Replace
Note: When the Azure VM is available, you can log in using the default root user credentials.
-
-
Disable hyperthreading (best practice). See Disable Hyper-threading on Azure Instance.
If you are deploying clusters or distributed architectures, continue with Deploy clusters and distributed architectures.
Otherwise, continue with deploying ASMS products, including populating your environment with devices and users. For details, see ASMS deployment checklist.
â See also:
