Manage Onboarded Accounts
Requires admin permissions
This topic describes how to onboard and manage cloud accounts in AlgoSec Cloud Enterprise, including Azure subscriptions, AWS accounts, and Google Cloud projects.
A single account onboarding and management page is accessible from both Cloud Network Security and Cloud App Analyzer, but it appears under different page names in each. The available capabilities depend on where you access it from: when you open the page from Cloud Network Security, you can also create and manage account groups, a feature that applies only to Cloud Network Security.
Access the page
-
In ASMS Cloud Network Security
-
Hover over the
 Settings icon at the bottom-left of the screen.
 -
After the panel expands, click Accounts Management. The Accounts Management page opens.
The page has tabs for the following workflows:
-
-
In ASMS Cloud App Analyzer
-
In the Settings/Configurations section of the left side menu, go to
 Onboarding > Onboarding Management.
The Onboarding Management page opens.
-
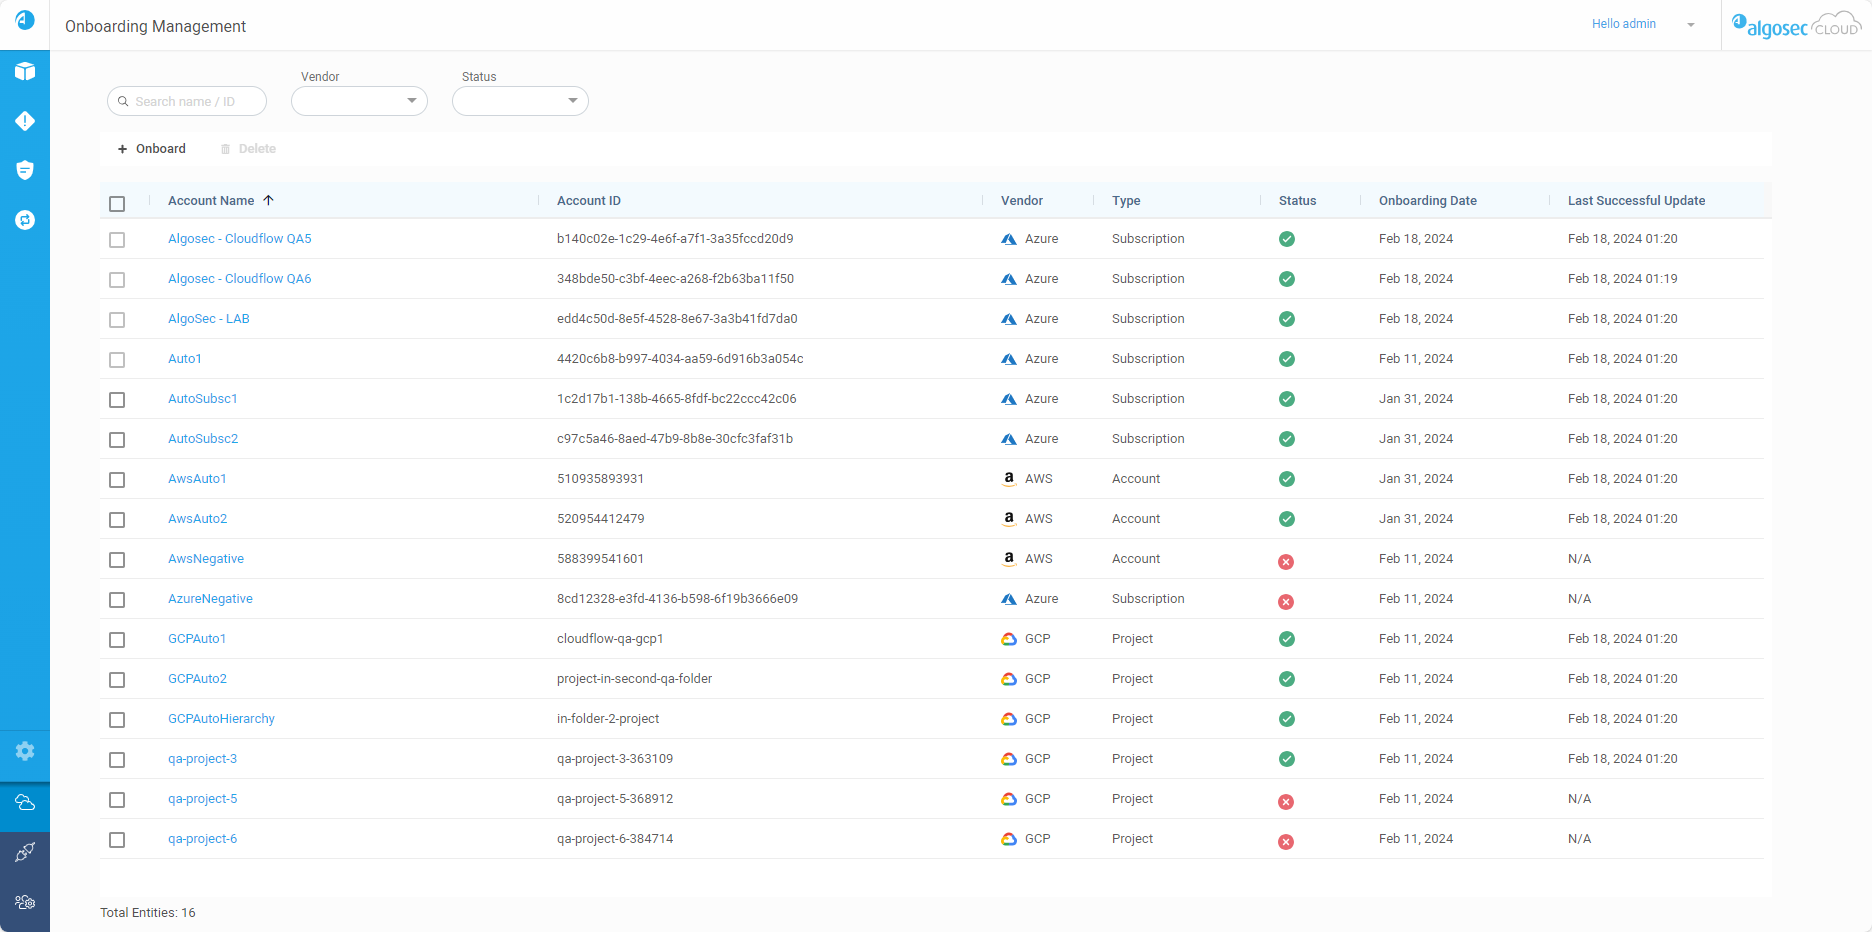
Manage Your Onboarded Accounts
This section describes how to manage onboarded accounts in ASMS.
In Cloud Network Security, this functionality appears on the Accounts Management page Account Onboarding tab.
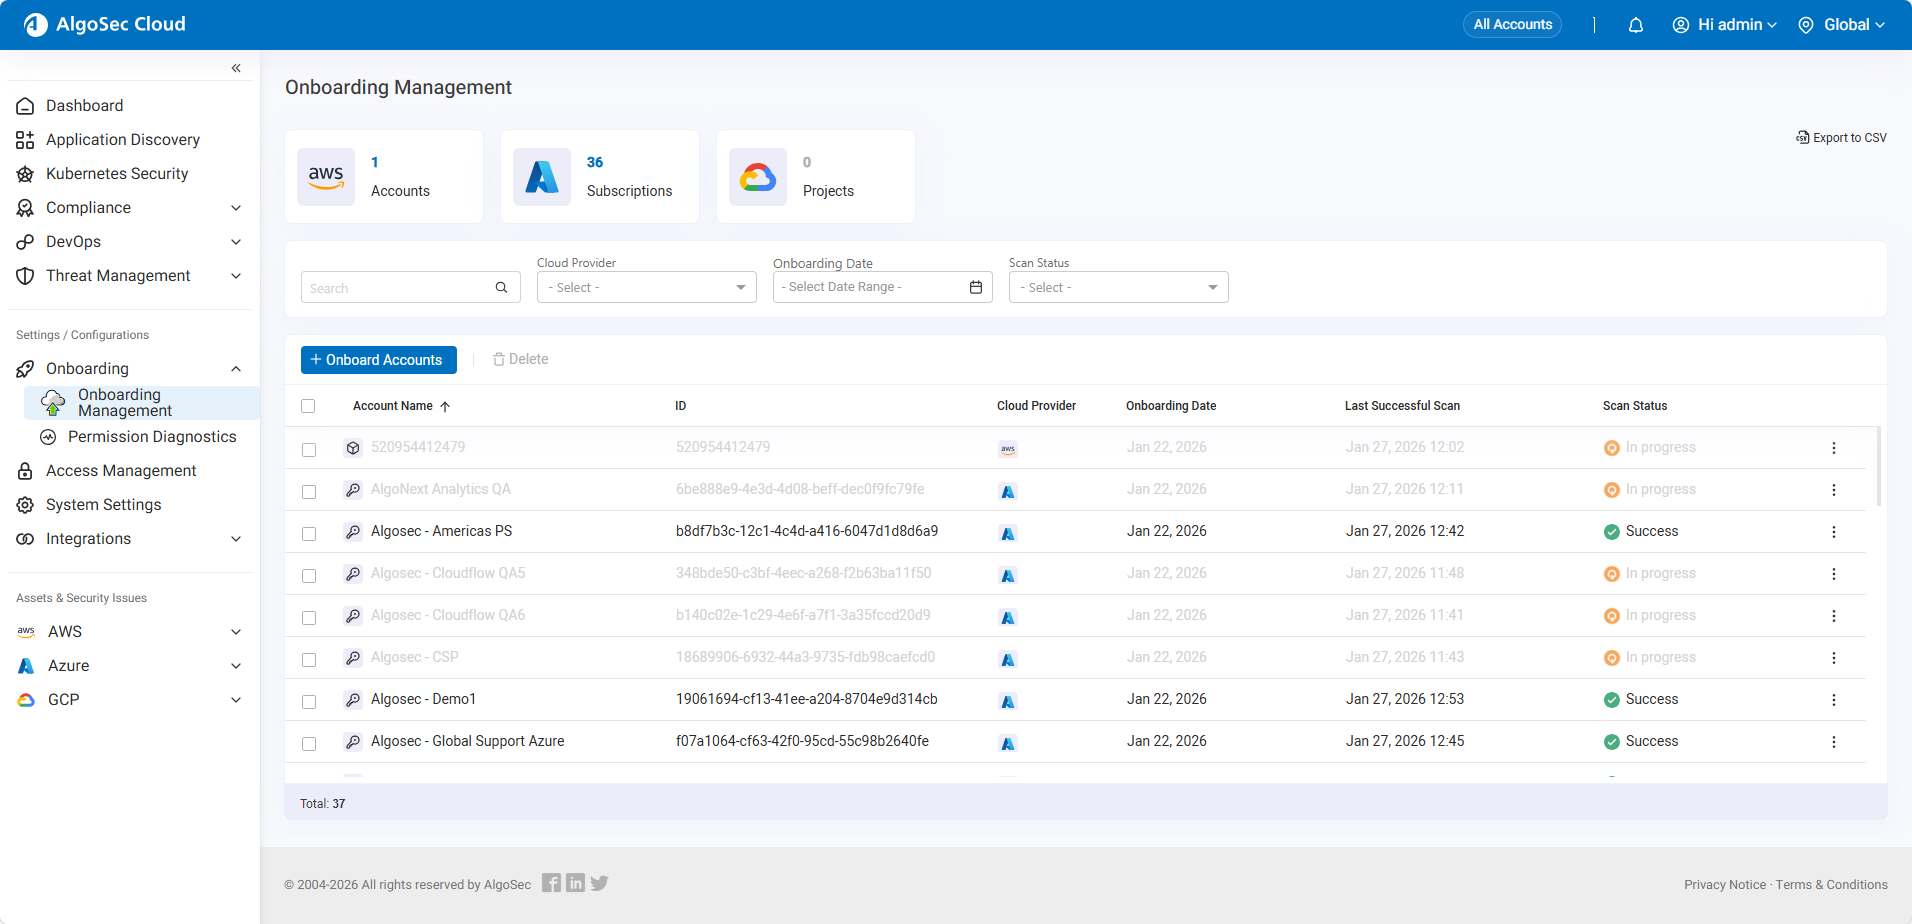
In Cloud App Analyzer, this functionality appears directly on the Onboarding Management page.
The page displays three summary boxes above the table, each showing the number of onboarded accounts for a specific cloud provider.

Note: These boxes do not appear for tenants that were onboarded using the older, Cloud Network Security-specific onboarding method, which was used before unified onboarding was introduced.
The page provides the following actions:
| Action | Description |
|---|---|
|
+Onboard Accounts |
Launch the onboarding wizard to onboard accounts, subscriptions, or projects. The wizard supports onboarding only through the CloudFormation or With Script methods. For other onboarding methods, see the provider-specific onboarding instructions at Onboarding Accounts, Subscriptions, and Projects. |
| View Access Key (Cloud Network Security only) | Display the Client ID and Client Secret to use during onboarding. |
| Delete | Offboard accounts, subscriptions, and projects from ASMS. For details, see Offboarding Accounts, Subscriptions, and Projects. |
| Export to CSV | Export the filtered list of onboarded accounts to a CSV file. |
Data displayed per resource
The list of onboarded accounts includes the following columns:
| Column Name* | Description |
|---|---|
| Account Name |
Name of the account, subscription, or project. Click the name to edit it. For more details, see Edit account details. Note (for AWS):
|
| ID | ID assigned to the account, subscription, or project. |
| Cloud Provider | AWS, Azure, or Google Cloud |
| Onboarding Date |
The date the account was onboarded to ACE. Note: Earlier onboarded accounts may display N/A. |
| Last Successful Scan |
The date-time of the last successful data collection. Note:
|
| Scan Status |
Status of the most recent data collection:
|
 Success: Completed successfully
 Failure: Error or missing permissions
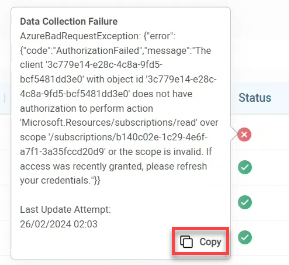
 In progress: Data collection is currently running
*Note: Click on a column heading to alphabetically sort the table by that column.
Search and filter accounts
Use the search and filter fields to narrow the displayed accounts.
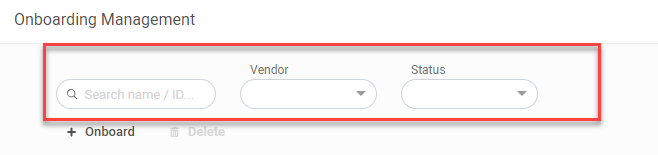
| Search | Search by partial or whole account names or vendor IDs. |
| Cloud Provider | Filter by cloud provider type(s) (AWS, Azure, Google Cloud). |
| Onboarding date | Filter by onboarding date. |
| Scan Status | Filter by account onboard status(es) (Active, In progress, Failure). |
Edit account details
Note: You can edit the name of all account types. Azure subscriptions allow editing the credentials as well.
Do the following:
-
In the Account Name column, click the Account Name you want to edit.
An account, subscription, or project window appears.
-
Edit the account, subscription, or project name.
-
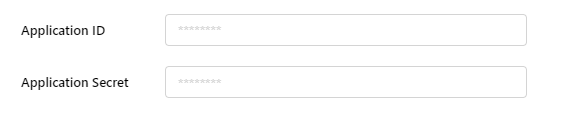
For Azure only: (Optional) Update Application ID and Application Secret.
-
Click Save.
Manage Account Groups
Account Groups are available only in ASMS Cloud Network Security.
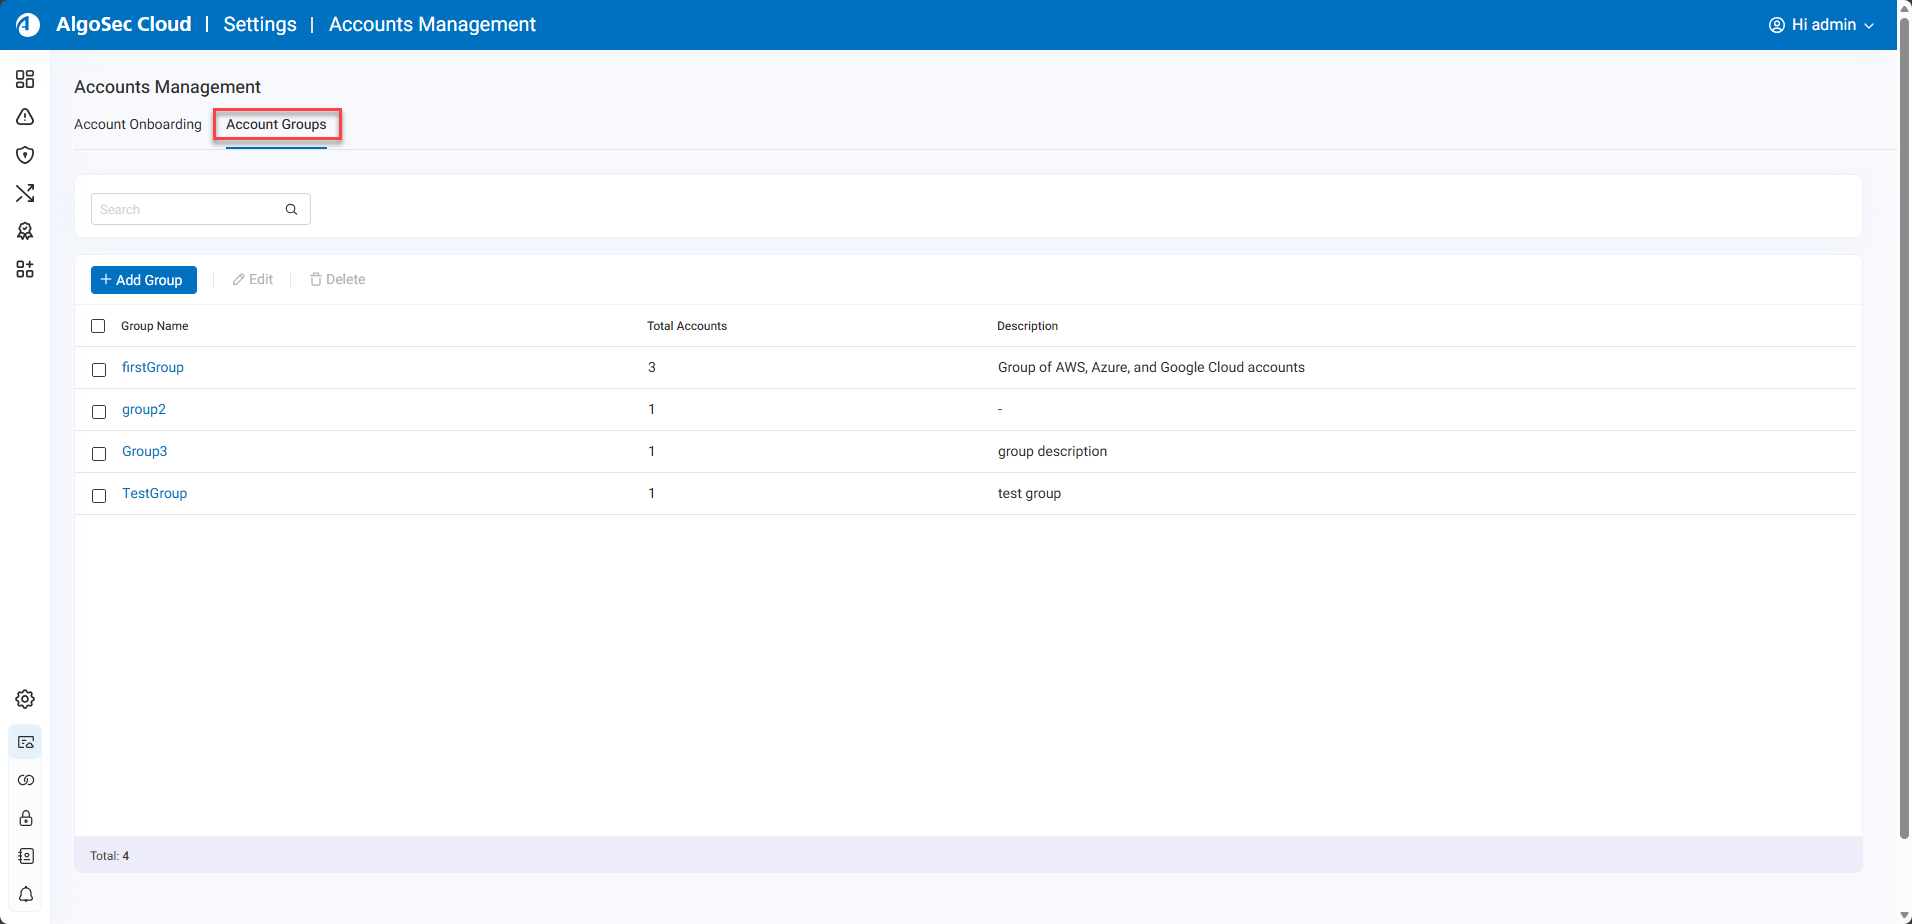
Use the Accounts Management page Account Groups tab to create and manage groups of cloud accounts.
These groups allow you to group accounts to simplify account selection and data filtering across Cloud Network Security features and exports.
Note: Although called Account Groups, each group can include a mix of AWS accounts, Azure subscriptions, and Google Cloud projects.
Accounts, subscriptions, and projects can belong to multiple groups.
The Account Groups tab provides the following options:
| Action | Description |
|---|---|
|
+Add Group |
Create a new group. For details, see Add Groups. |
| Edit | Modify an existing group. For details, see Edit Groups. |
| Delete | Remove one or more groups. For details, see Delete Groups. |
Add Groups
This section describes how to create a group.
Do the following:
-
In the Account Management page Account Groups tab, click +Add Group.
The Add Group wizard appears.
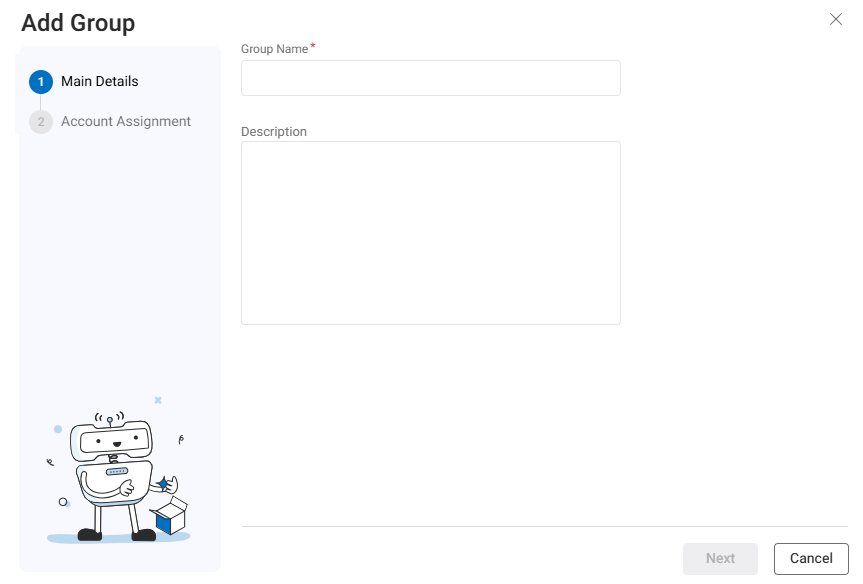
-
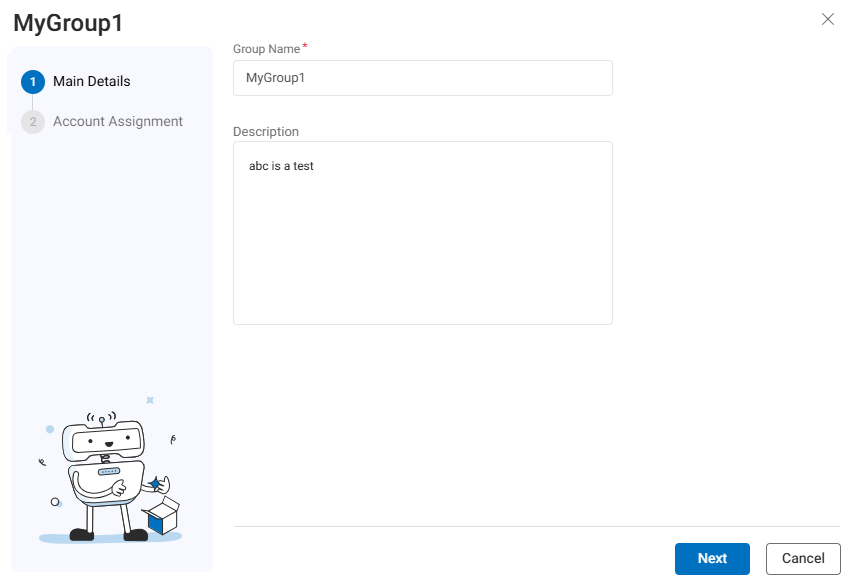
Enter a name for the group in the Group Name field.
Note: The Group Name must be a single word with no spaces, using only lowercase letters (a–z) and numbers (0–9).
-
(Optional) Provide a description in the Description field.
-
Click Next.
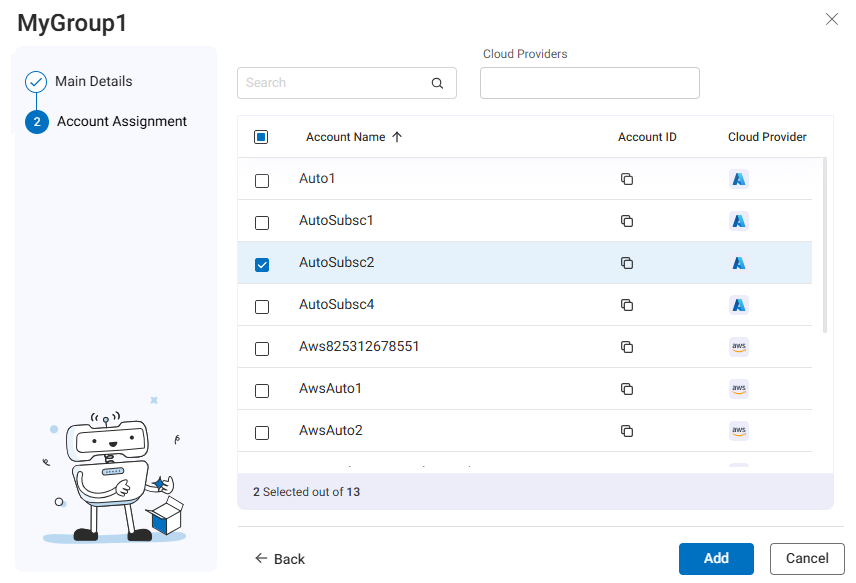
The Account Assignment step appears.

-
Select the accounts, subscriptions, and projects to include.
-
Use Search to filter by name
-
Use Cloud Providers to filter by provider
-
-
Click Add to create the group.
The group appears in the list of groups in the Navigation Tree.
Edit Groups
This section describes how to edit details of existing groups.
Do the following:
-
In the Account Management page Account Groups tab, select the group by:
-
Clicking the checkbox and selecting Edit, or
-
Clicking the group name
The wizard to edit the selected group opens.
-
-
Update the group name or description as appropriate.
-
Click Next.
The Account Assignment step of the wizard opens.
-
Add or remove accounts as needed.
-
Click Add to update the group with the new details.
Delete Groups
This section describes how to delete groups from ASMS.
Do the following:
-
In the Account Management page Account Groups tab, select one or more groups.
-
Click Delete.
A Delete Group confirmation dialog appears.

-
Click Delete to confirm.
