Related for AppViz administrators
This topic explains how to import data into AppViz from a configuration management database (CMDB).
For more details, see:
CMDB import support
AppViz supports importing network objects directly from a CMDB. You can update your objects from the CMDB manually, or schedule automatic updates.
Additionally, you can review the results of the last import. See Reviewing the last object update.
Note: If AppViz does not support the CMDB you use, you can export your data from your CMDB as a CSV file and then import it into AppViz. See Update data via CSV files.
AppViz supports the HP Universal CMDB (UCMDB) for IPv4 IP addresses only.
For UCMDB, AppViz imports computer CIs. When a CI has more than one IP address, AppViz creates an object for each IP address, and The object names are created by concatenating the IP address to the name.
For example, if a computer called TEST has 2 IP addresses, 1.1.1.1 and 2.2.2.2, AppViz will create 2 objects: TEST_1.1.1.1 and TEST_2.2.2.2.
If one of the IP addresses changes and the object is used in an application flow, the object will be marked as deleted in the application.
To update objects from a CMDB:
-
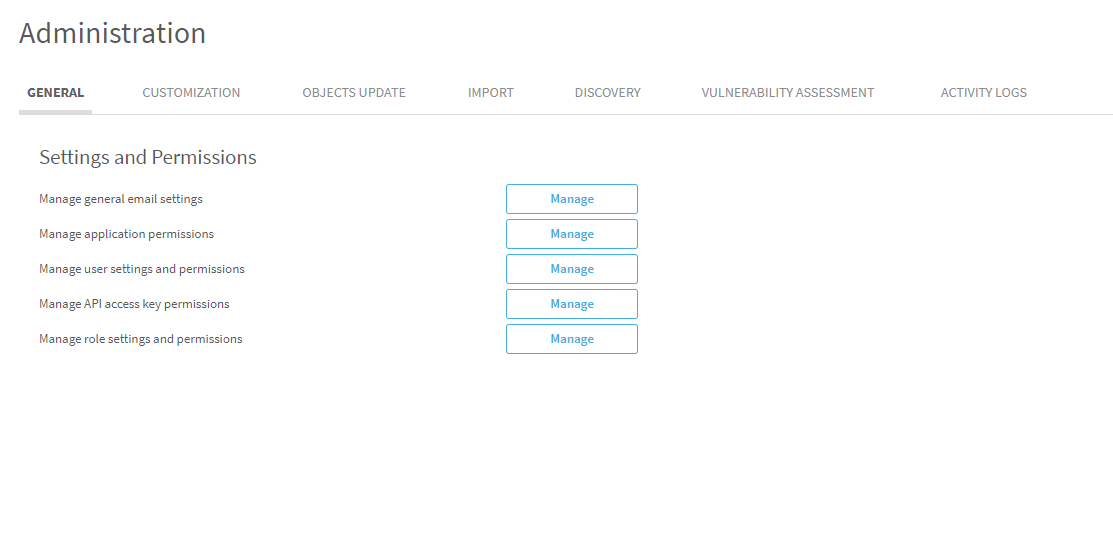
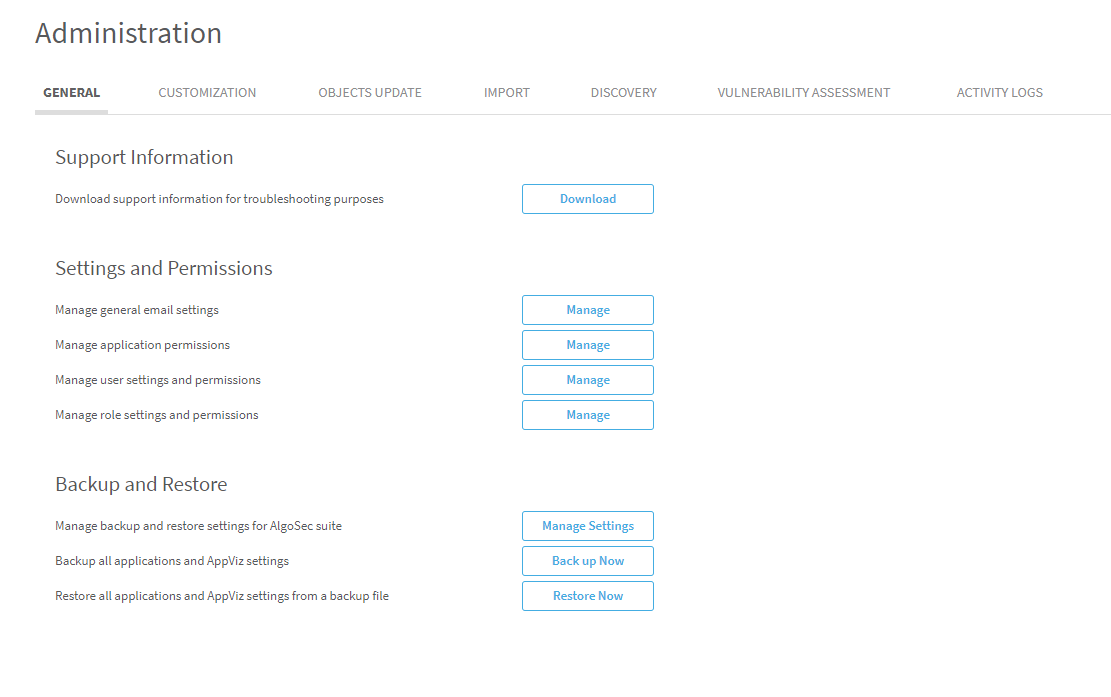
Navigate to the Administration area.
-
 Hover over the
  SETTINGS icon at the bottom left of the screen. After the panel expands, click
  ADMINISTRATION.
 -
 In the toolbar, click your username. From the drop-down menu, click ADMINISTRATION.
The Administration area appears in the workspace.
-
-
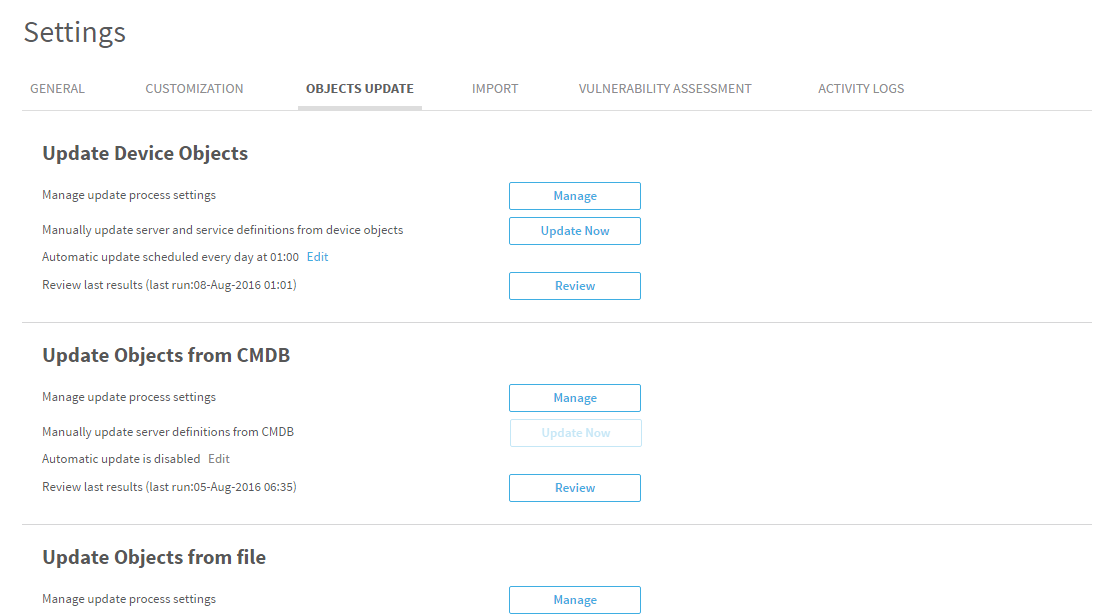
Click the Objects Update tab.
The Objects Update tab appears.
- Configure the behavior of the import, by doing the following:
In the Update Objects from CMDB area, click Manage.
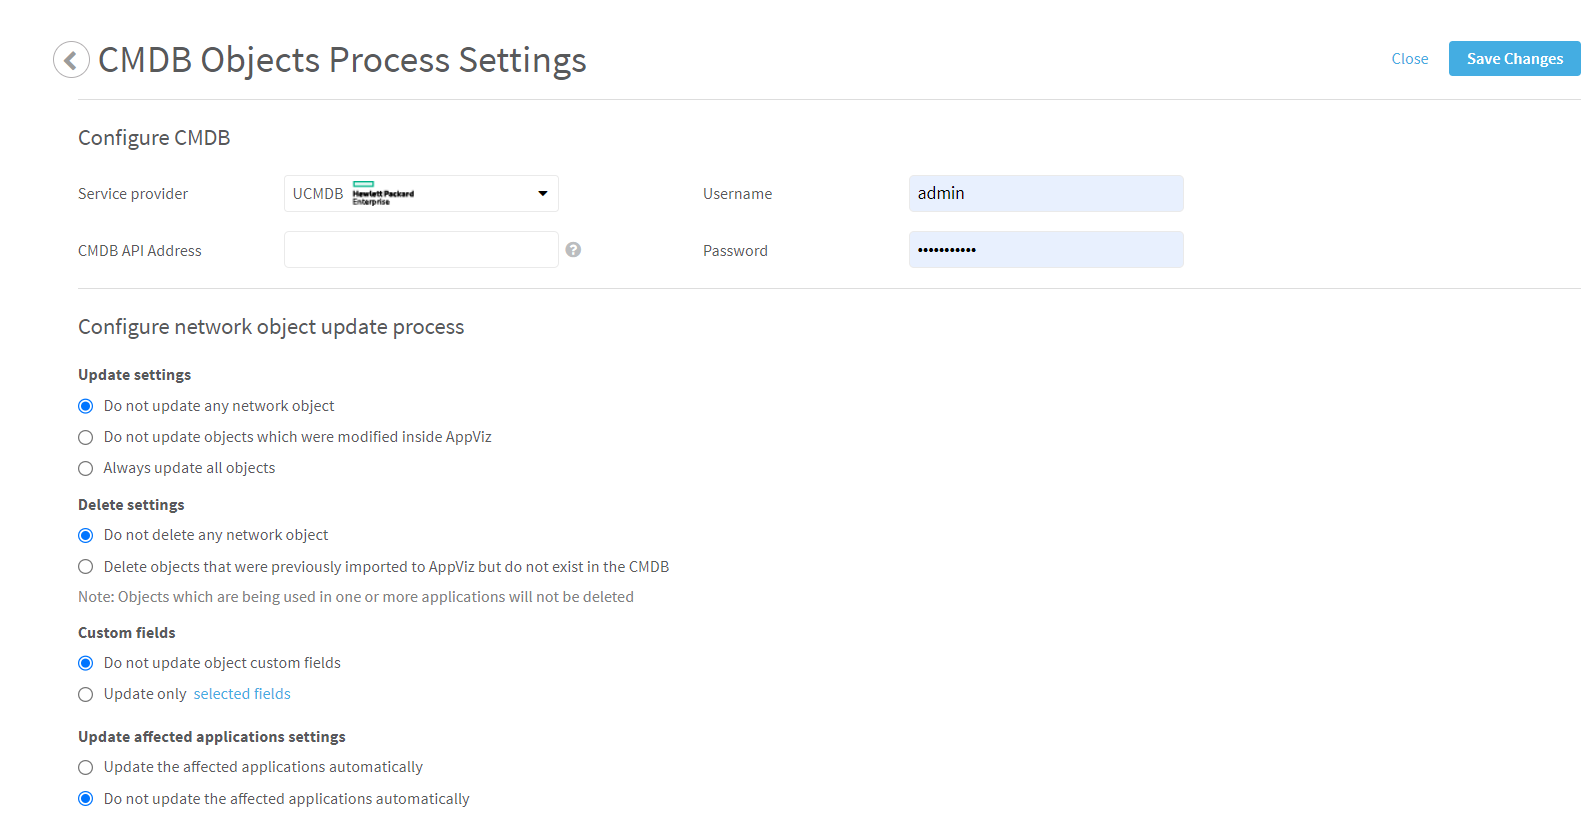
The CMDB Objects Update Settings page appears.
- Configure the CMDB by completing the fields as needed. For details, see CMDB configuration fields.
- Select the desired options as needed. For details, see CSV/CMDB objects update settings options.
Click Save Changes.
A confirmation message appears at the top of the workspace.
- In the Update Objects from CMDB area, do one of the following:
- To manually update objects, do the following:
Click Update Now.
The Update CMDB Objects dialog is displayed.

Click OK.
The network objects are updated.
- To schedule automatic updates, do the following:
Click Edit.
The Schedule Update of Network Objects dialog is displayed.
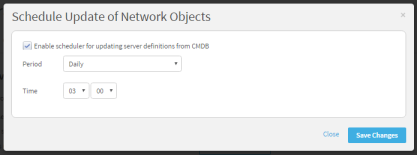
Complete the fields as needed Schedule update of network objects fields.
Click Save Changes.
The automatic updates are scheduled, and will run off of the file you specified.
- To manually update objects, do the following:
|
In this field... |
Do this... |
|---|---|
|
Service provider |
Select the CMDB service provider in the drop-down menu. |
|
CMDB API Address |
Type the CMDB server URL and port. For example, http://192.168.0.101:8080 |
|
Username |
Type the username to access the CMDB. |
|
Password |
Type the password associated with the username. |
|
For this setting... |
Do this... |
|---|---|
|
Update settings |
Select one of the following:
This option is relevant for CMDB updates, or when the CSV file is a comprehensive list of all current object definitions. |
|
Delete settings |
Select one of the following:
|
|
Custom fields |
Select one of the following:
|
|
Update Affected Applications settings |
Select one of the following:
|
Select specific custom fields to import
Use this procedure while managing the import settings for an object update from a CSV file or CMDB.
To select specific custom fields to import:
-
In the Custom fields area, click selected fields.
Depending on whether you are managing settings for CSV file updates or updates directly from a CMDB, either the Select custom fields or Select server properties dialog is displayed.
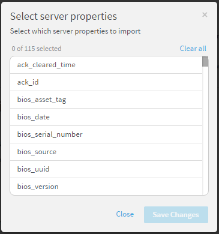
- Select the custom fields or server properties to import as custom fields.
- Click Save Changes.
Reviewing the last object update
You can view the results of the last update of device objects, objects from a file, or objects directly from a CMDB.
Note: These results contain information only for network objects, not service objects.
To review the last object update:
-
Navigate to the Administration area.
-
 Hover over the
  SETTINGS icon at the bottom left of the screen. After the panel expands, click
  ADMINISTRATION.
 -
 In the toolbar, click your username. From the drop-down menu, click ADMINISTRATION.
The Administration area appears in the workspace.
-
-
Click the Objects Update tab.
The Objects Update tab appears.
- Do one of the following:
- To view the last report for device objects, in the Update Device Objects area, click Review.
- To view the last report for objects from a file, in the Update Objects from file area, click Review.
- To view the last report for objects imported directly from a CMDB, in the Update Objects from CMDB area, click Review.
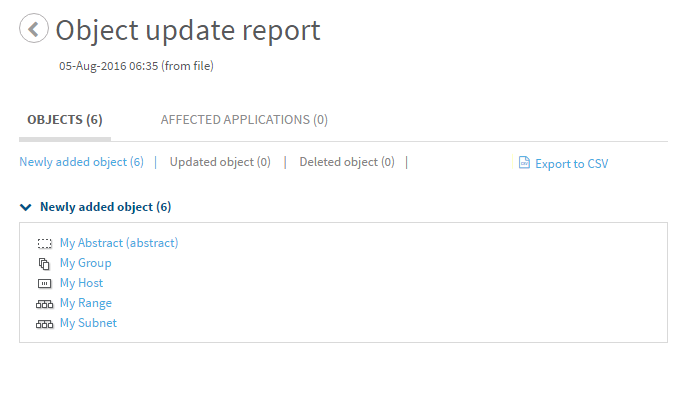
The Object update report appears displaying the Objects tab.
Note: The relevance of the objects or applications in each tab is dependent on the update settings. For example, if affected applications are not updated automatically, no applications will appear in the affected applications tab.
Note: Some or all of the sub tabs may appear, depending on the settings configured for the update.
Within the Objects tab, all of the objects are sorted into the following sub-tabs:
- Newly added object. This tab includes all objects that were added to AppViz as a result of the update.
- Updated object. This tab includes all objects whose definition changed as a result of the update.
- Deleted object. This tab includes all objects that were deleted from AppViz as a result of the update.
- Could not be deleted. This tab includes objects that the import attempted to delete from AppViz, but could not delete because they are used in the current revision of at least one application.
- Could not be updated due to object status. This tab includes objects that the import attempted to update, but could not update because of the object's change status.
- Were not updated due to current settings. This tab includes objects that were not updated because of the settings you specified before the update.
Clicking on any object brings you to the object's AppViz page.
-
To view a list of applications which were affected by the object import, click the Affected Applications tab.
Clicking on any application brings you to the application's AppViz page.
- To export the report as a CSV file, click
 .
.
|
In this field... |
Do this... |
|---|---|
|
Enable scheduler for updating server definitions |
Check this check box to enable scheduling updates. |
|
Period |
In the drop-down menu, select either Daily or Weekly as the period for the updates. |
|
Time |
Using the two drop-down menus, specify the time of day on the 24 hour clock for the updates. |
 appears in the upper right corner of the object's page. Additionally,
  appears on the object's icon in any application flows or projects using the outdated revision. After running the import,