This topic describes how to view objects on the Objects page.
Access the Objects page
From the main menu on the left, click OBJECTS. The Objects page opens, listing objects found.
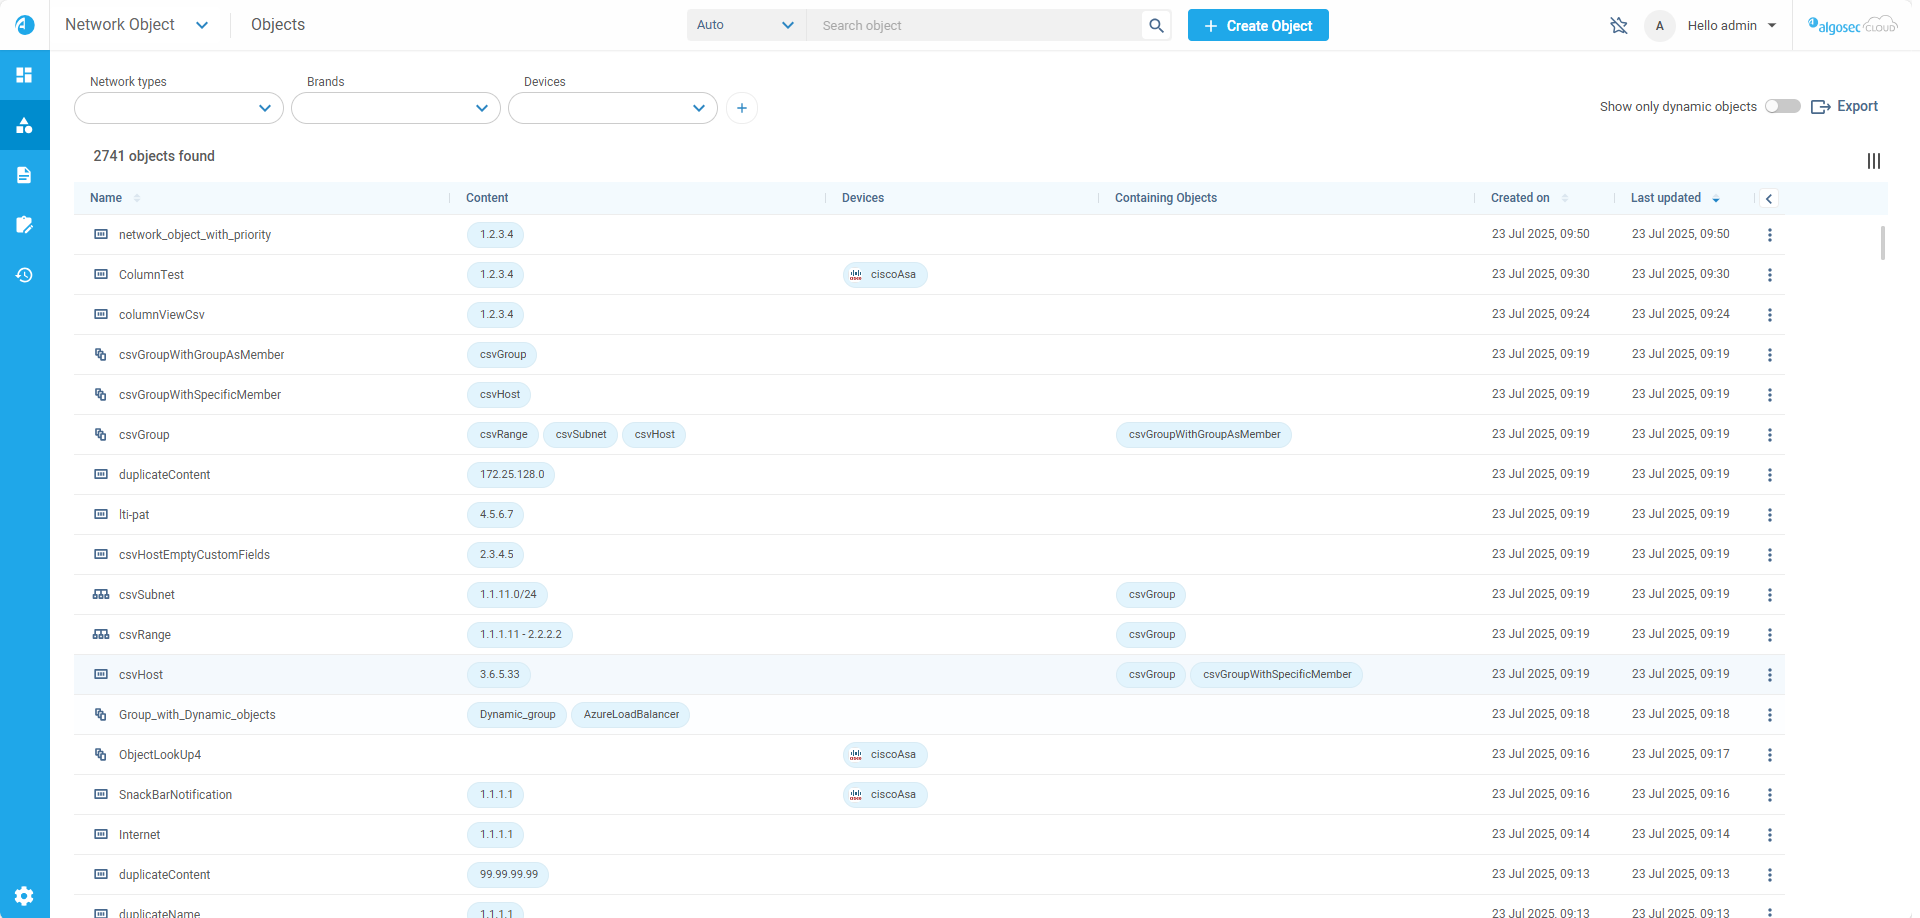
The icon to the left of each object indicates the type:
Static objects only
| Network type | Service type |
|---|---|
|
|
|
|
|
|
 A group. A group. |
 A host.
 A range (subnet).
Network types with dynamic objects
Note: Dynamic objects automatically change without intervention of the user. They cannot be manually changed in ObjectFlow. Only network objects can be dynamic.
 A host that is a dynamic object.
 A range (subnet) containing dynamic objects.
 A group containing dynamic objects.
View Object Details
-
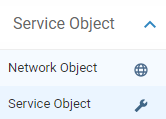
From the drop-down at the upper left of the window, select the object type you want to view:
-
Network Object
-
Service Object
-
-
Use the filters or the Object Search bar at the top of the page (See Search objects) to control which objects are displayed.
-
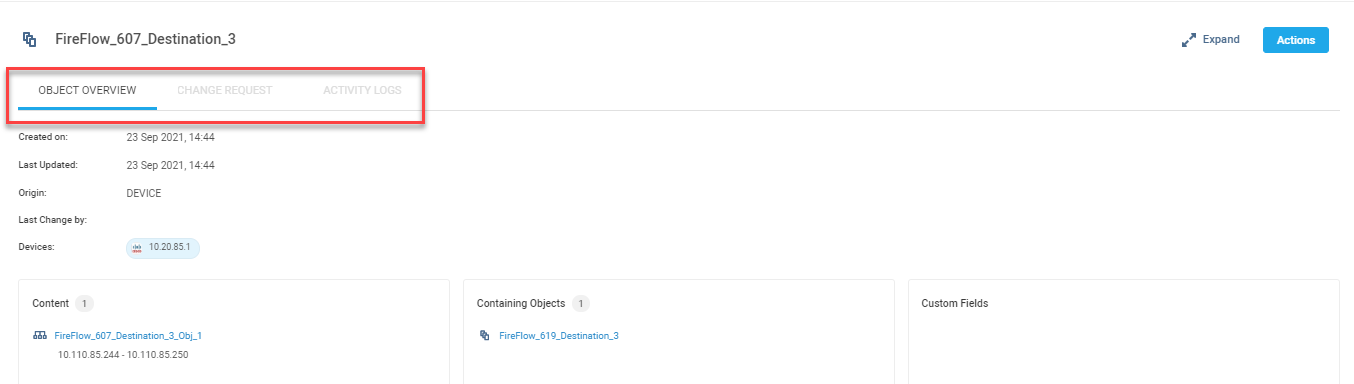
Click on any object in the displayed list to expand it and view all the information related to it.
The Object Details are displayed in the workspace to the right of the Objects list. For example of a network object: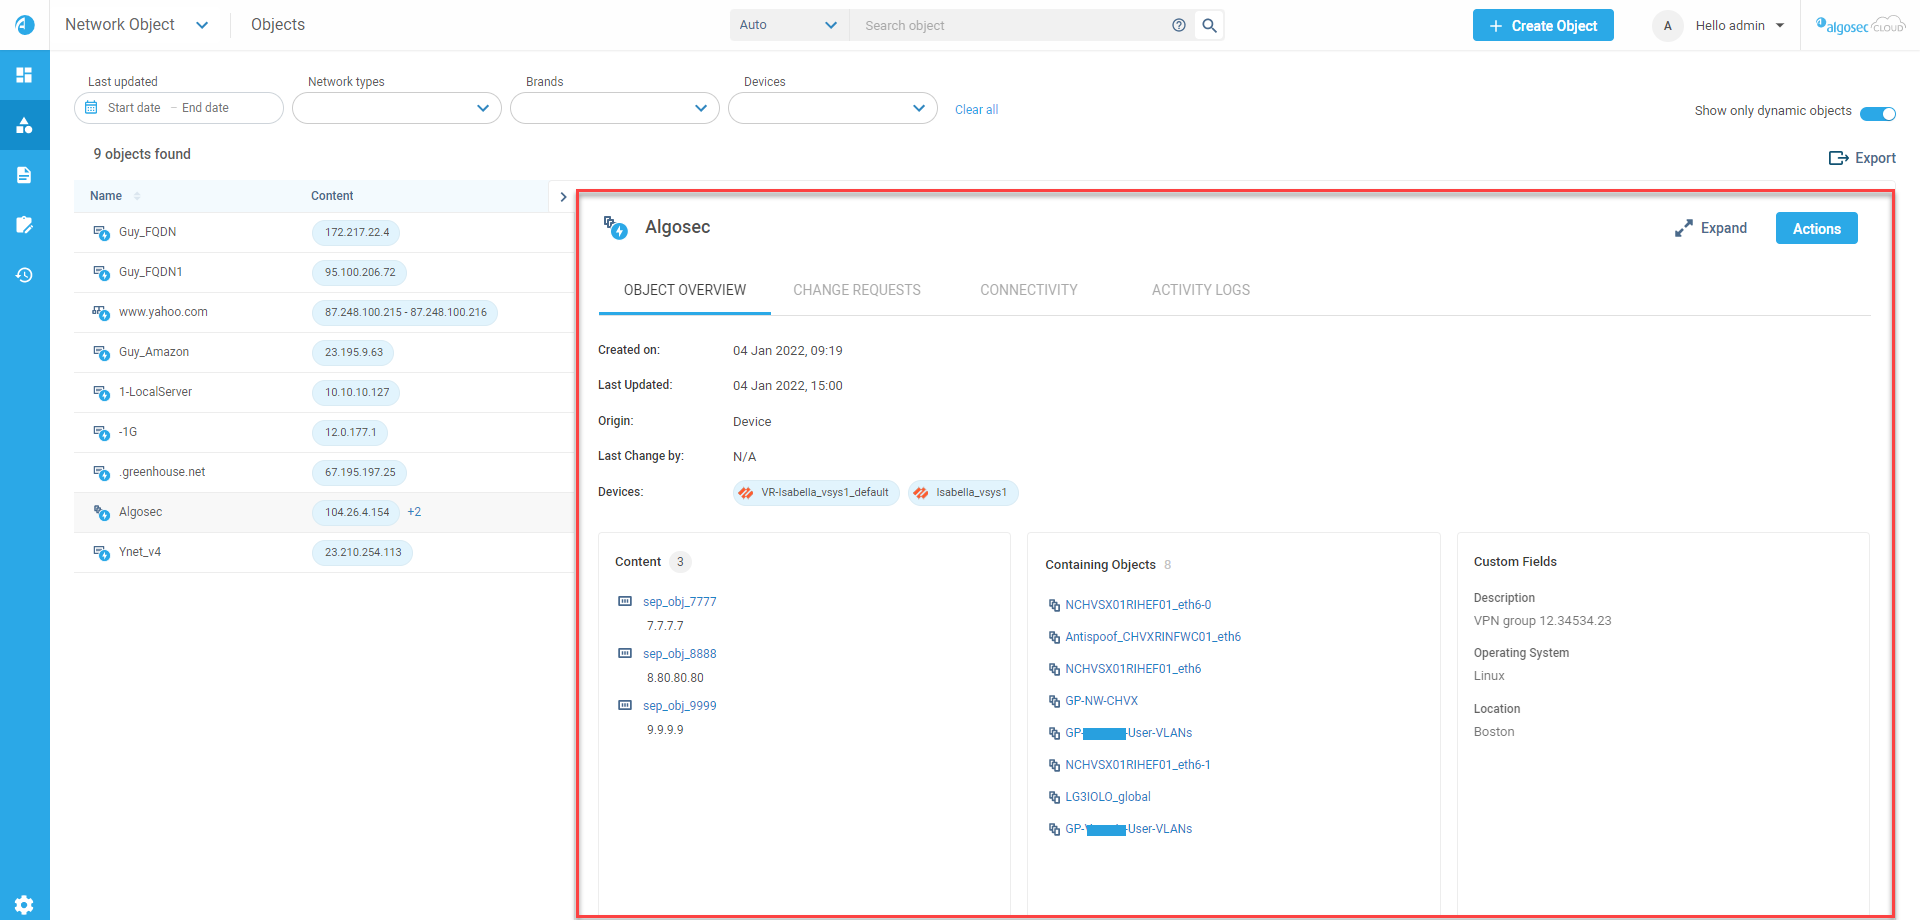
Note: You can switch between viewing the Object Overview, Change Requests, Connectivity (only available for network objects), and Activity Logs tabs for the selected object that is being viewed.
Filtering the Objects list
The Objects list includes default and customizable filter selection boxes.
You can filter the Objects Found list according to:
For network objects:

For service objects

-
Default filters
Default filters include:
-
Network types (for network objects) / Service types (for service objects)
-
Brands
-
Devices
-
Applications (when ObjectFlow is connected to AppViz)
-
Dynamic objects (For network objects only)
Tip: Select the Show only dynamic objects toggle to display only those hosts, ranges and groups that contain dynamic objects.
-
-
Customizable filters
You can add filter selection boxes as required:
-
Click the
 button.
 -
Select a filter type from the list. The filter box is added.
-
Add additional filters, as required.
-
To clear a non-default filter selection box, click the x at the right side of the box.
-
To clear all additional filters, click Clear all.
You can select one or more items from the dropdown of the filter box. At the bottom of each filter box, select from these options:
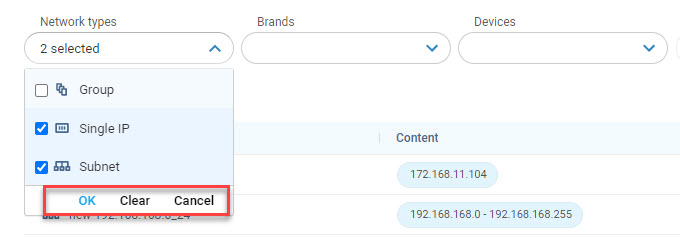
Option Description OK Accepts the current selection, refreshes the list and closes the dropdown Clear / Reset Reverts to the previous selection of the filter / The date picker is reset to initial state and closed Cancel Clear the current selection of the filter For the Last updated filter,
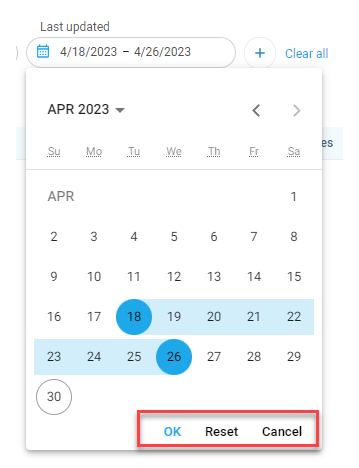
Tip: Date of last update filter: to set start and end date as the same day, click the Calendar icon and select same day in the calendar twice.
-
-
Sort Objects in the list
Click on the column headers to sort the objects in the lost. The list can be sorted by the following columns:
-
Name
-
Created on
-
Last Updated
-
Last Changed
Customize columns in the Objects list
You can show, hide, or move columns based on your preference. Available columns include:
| Column | Description |
|---|---|
| Default columns |
Default are shown by default.
|
| Change Request* | Indicates if the object is currently in a change request process in FireFlow. |
| Naming Convention* | Checks alignment with user-defined naming conventions. |
| Custom fields* | User-defined custom fields. |
* Column display can be shown or hidden
Show or hide columns
You can choose from a variety of built-in and custom fields to display in the columns, giving you more flexibility in managing your objects.
Note: Name, Content, and Devices columns are always displayed and cannot be hidden. These columns are greyed out to indicate that they are fixed and cannot be modified
Do the following:
-
Click Columns icon
 at top right of the list to open the column configuration dialog.
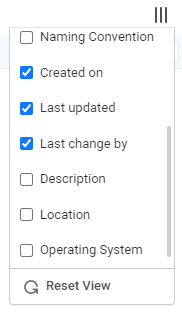
-
In the dialog, select the columns you want to show by checking their corresponding boxes or deselect the columns you want to hide by unchecking their boxes. Alternatively, you can reset the view to the default columns by clicking Reset View. Your new column settings are displayed in the list.
Move a column
-
Hover over the heading of a column, then drag the column left or right to its new position.
