This topics explains how to create and edit network and service objects in ObjectFlow.
Create Objects
Note: For instructions to import network objects from a CSV file, see Import network objects from a CSV file
To create a new object:
Do the following:
-
Click the
 button located at the top of any ObjectFlow page.
 -
Select Network object.

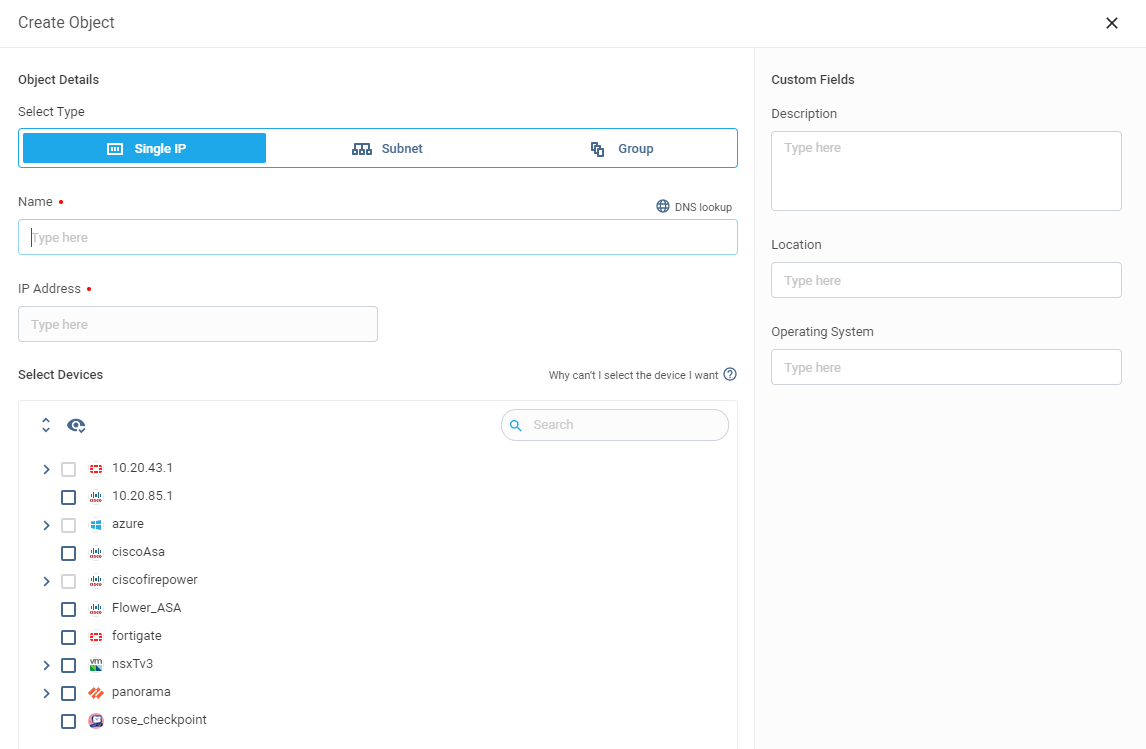
The Create Network Object dialog is displayed.
-
Select the object type - Single IP, Subnet (range) or Group.

-
Enter the object Name. If you have defined naming conventions, the object name must adhere to one of the naming convention rules. To define naming conventions, see Object Naming Conventions.
Note: If the name entered already exists in the system, a warning is displayed to prevent duplicate object creation.
-
Enter, as follows, for object type:
Note: If the content entered already exists in a different object, a warning is displayed.
-
[Optional] Add the Network Object to one or more devices via the tree of devices displayed. This will open a FireFlow change request that you can monitor in ObjectFlow. See Object Change Requests.)
Tips: FireFlow rules for device selection in the tree are not the same for all brands. Some brands only allow selection of the lowest level device on the tree. For other brands, you can select only the highest level.

-
Fill in the custom fields that appear on the right side of the form.

Tip: To configure custom fields, see Custom fields.
-
When all the required fields are filled out, the button at the lower right of the screen changes based on whether the object has devices assigned to it:
-
Click Create Object to create the object when the object has no devices assigned to it
-
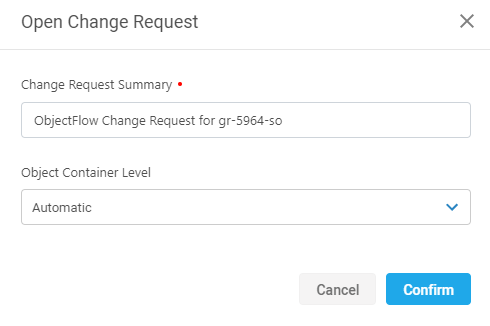
Click Open Change Request to create the object and open a Change Request in FireFlow to assign devices to the object.
-
Edit the Change Request Summary if required.
-
The Object Container Level is the device/management level on which to change the object.
Set it as follows:
Object container level Description Automatic (Default) The level on which to change the object is determined based on an algorithm. Lowest To change the object on the lowest level/individual device. Highest To change the object at the highest level/management.
Note: For Check Point devices, choosing highest will change the object on the CMA, not on the PV1 level (global).
-
Click Confirm.
-
-


Do the following:
-
Click the
button located at the top of any ObjectFlow page. -
Select Service object.
The Create Service Object dialog is displayed.

-
Select the service type - Single or Group.

-
Enter the object Name.
Note: If the name entered already exists in the system, a warning is displayed to prevent duplicate object creation.
-
Enter, as follows, for service type:
Service type Required data Single Protocol / Destination Port
Group Members
Tip: For Groups, click Object Lookup to select multiple network objects from the list.
Note: If the content entered already exists in a different object, a warning is displayed.
-
[Optional] Add the Service Object to one or more devices via the tree of devices displayed. When objects are added to devices, the button at the lower right of the screen changes to Open Change request to open a FireFlow change request that you can monitor in ObjectFlow. See Object Change Requests.)
Tips: FireFlow rules for device selection in the tree are not the same for all brands. Some brands only allow selection of the lowest level device on the tree. For other brands, you can select only the highest level.
-
Fill in the custom fields that appear on the right side of the form.

Tip: To configure custom fields, see Custom fields.
-
When all the required fields are filled out, the button at the lower right of the screen changes based on whether the object has devices assigned to it:
-
Click Create to create the object when the object has no devices assigned to it
-
Click Open Change Request to create the object and open a Change Request in FireFlow to assign devices to the object.
-
Edit the Change Request Summary if required.
-
The Object Container Level is the device/management level on which to change the object.
Set it as follows:
Object container level Description Automatic (Default) The level on which to change the object is determined based on an algorithm. Lowest To change the object on the lowest level/individual device. Highest To change the object at the highest level/management.
Note: For Check Point devices, choosing highest will change the object on the CMA, not on the PV1 level (global).
-
Click Confirm. The change requests are opened in FireFlow.
-
-
Edit Objects
Note: You cannot edit an object in ObjectFlow if the object is currently in a Change Process.
Do the following:
-
Access the OBJECTS page.
From the left navigation menu by clicking the OBJECTS tab:

-
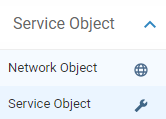
From the drop-down at the upper left of the window, select the object type you want to view:
-
Network Object
-
Service Object
-
-
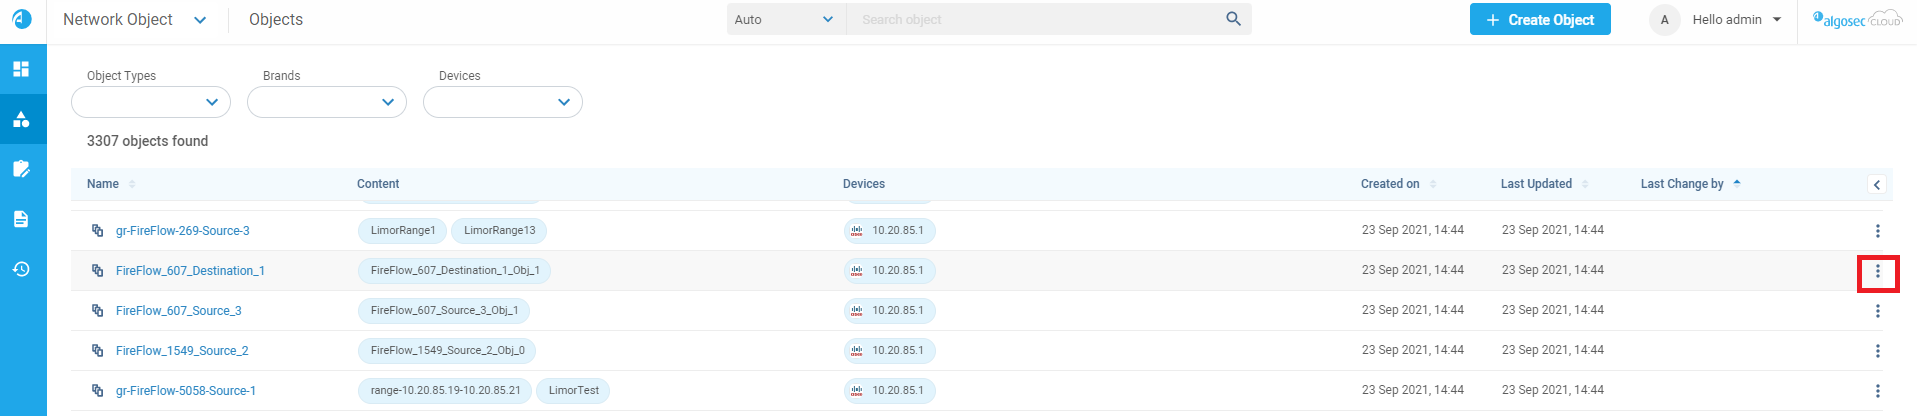
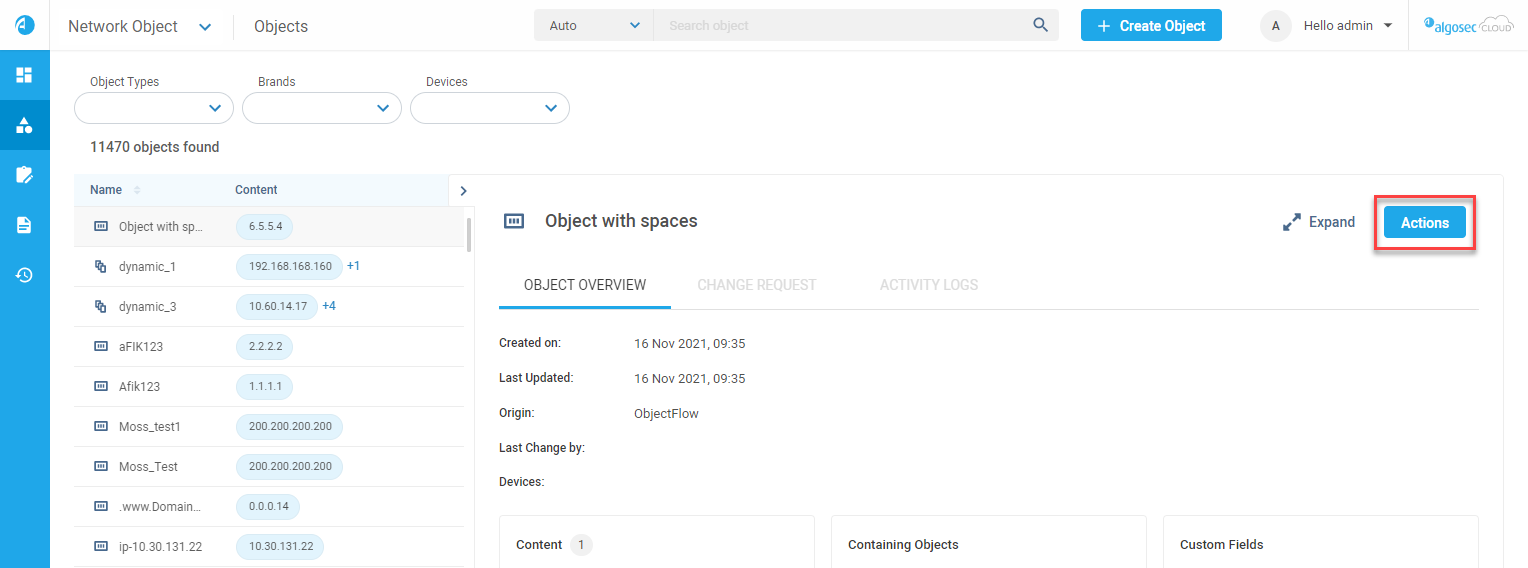
On the OBJECTS page, click on the ellipse at the right of the row of the object.
Alternatively, from the Object Details pane, click Actions.
-
From the Edit / Delete option popup, click on Edit.
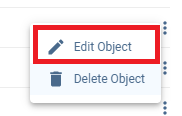
- Edit the Object Details form as required.
Note: You cannot edit an object's content and devices in one action. To edit both, edit one option, click Update and edit again to edit the other option.
Note: If you associate the object with devices or change the associated device, a FireFlow change request will be created that you can monitor in ObjectFlow. See Object Change Requests.
-
When all the required fields are filled out, the button at the lower right of the screen changes based on whether the object has devices assigned to it:
-
Click Update to save your edits for an object with no devices.
-
Click Open Change Request to open a Change Request in FireFlow for object with devices assigned. The Open Change Request dialog is displayed.
-
Edit the Change Request Summary if required.
-
The Object Container Level is the device/management level on which to change the object.
Set it as follows:
Object container level Description Automatic (Default) The level on which to change the object is determined based on an algorithm. Lowest To change the object on the lowest level/individual device. Highest To change the object at the highest level/management.
Note: For Check Point devices, choosing highest will change the object on the CMA, not on the PV1 level (global).
-
Click Confirm.
-
-
Delete Objects
Note: You cannot delete an object in ObjectFlow while a change process is open for it.
Do the following:
-
Access the OBJECTS page.
-
From the left navigation menu by clicking the Objects icon:
From the drop-down at the upper left of the window, select the object type you want to view:
-
Network Object
-
Service Object
-
-
From the main Dashboard, by clicking on the search icon at the right of the Object Search bar (see Search objects):

-
-
Filter or search for required object.
-
Click on the ellipse at the right of the row of the object to be deleted.
Alternatively, double-click on the object to open the Object Details pane and then, click Actions.
-
From the Edit Object / Delete Object popup, click Delete Object.
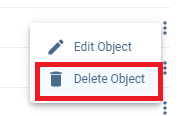
The Delete Object confirmation dialog is displayed, showing:-
Object name
-
Change request summary (editable)

-
- Click Confirm to delete the object. The change request to delete the object is opened.
